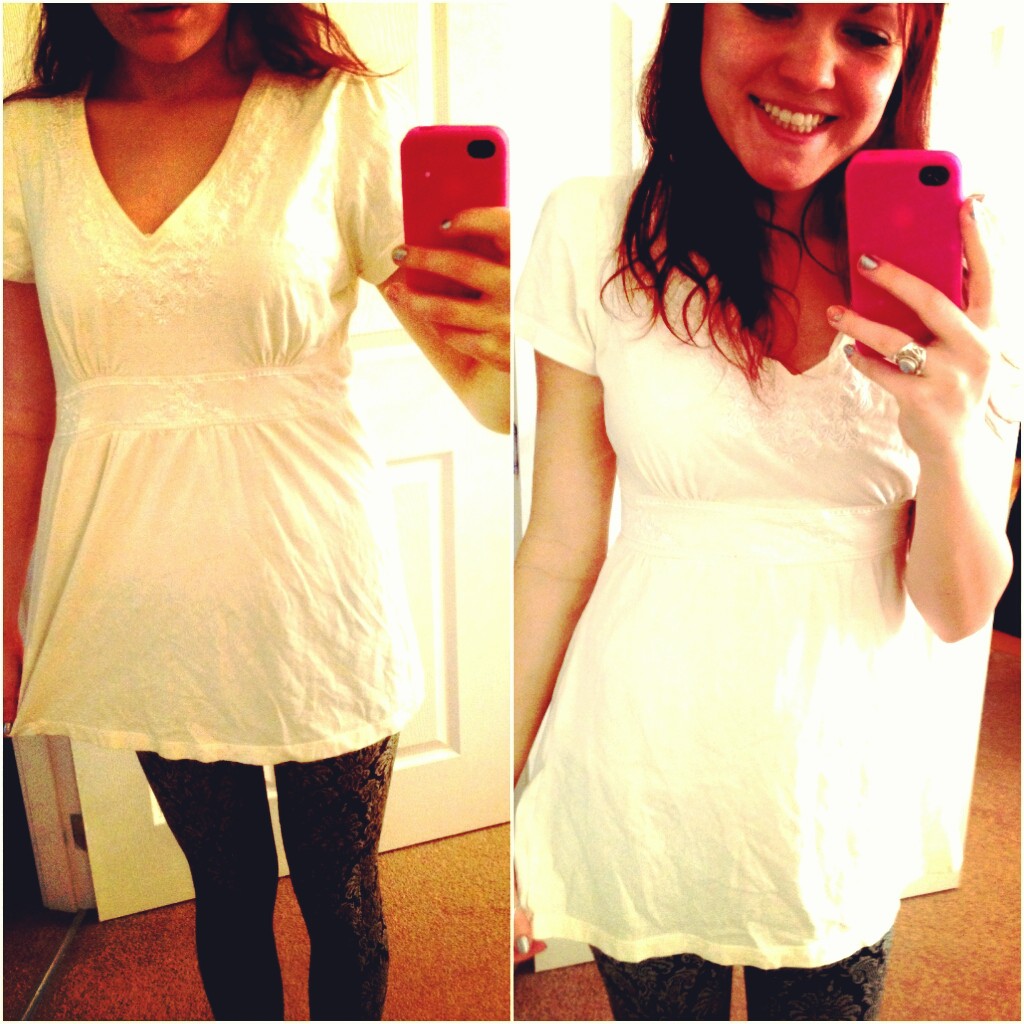
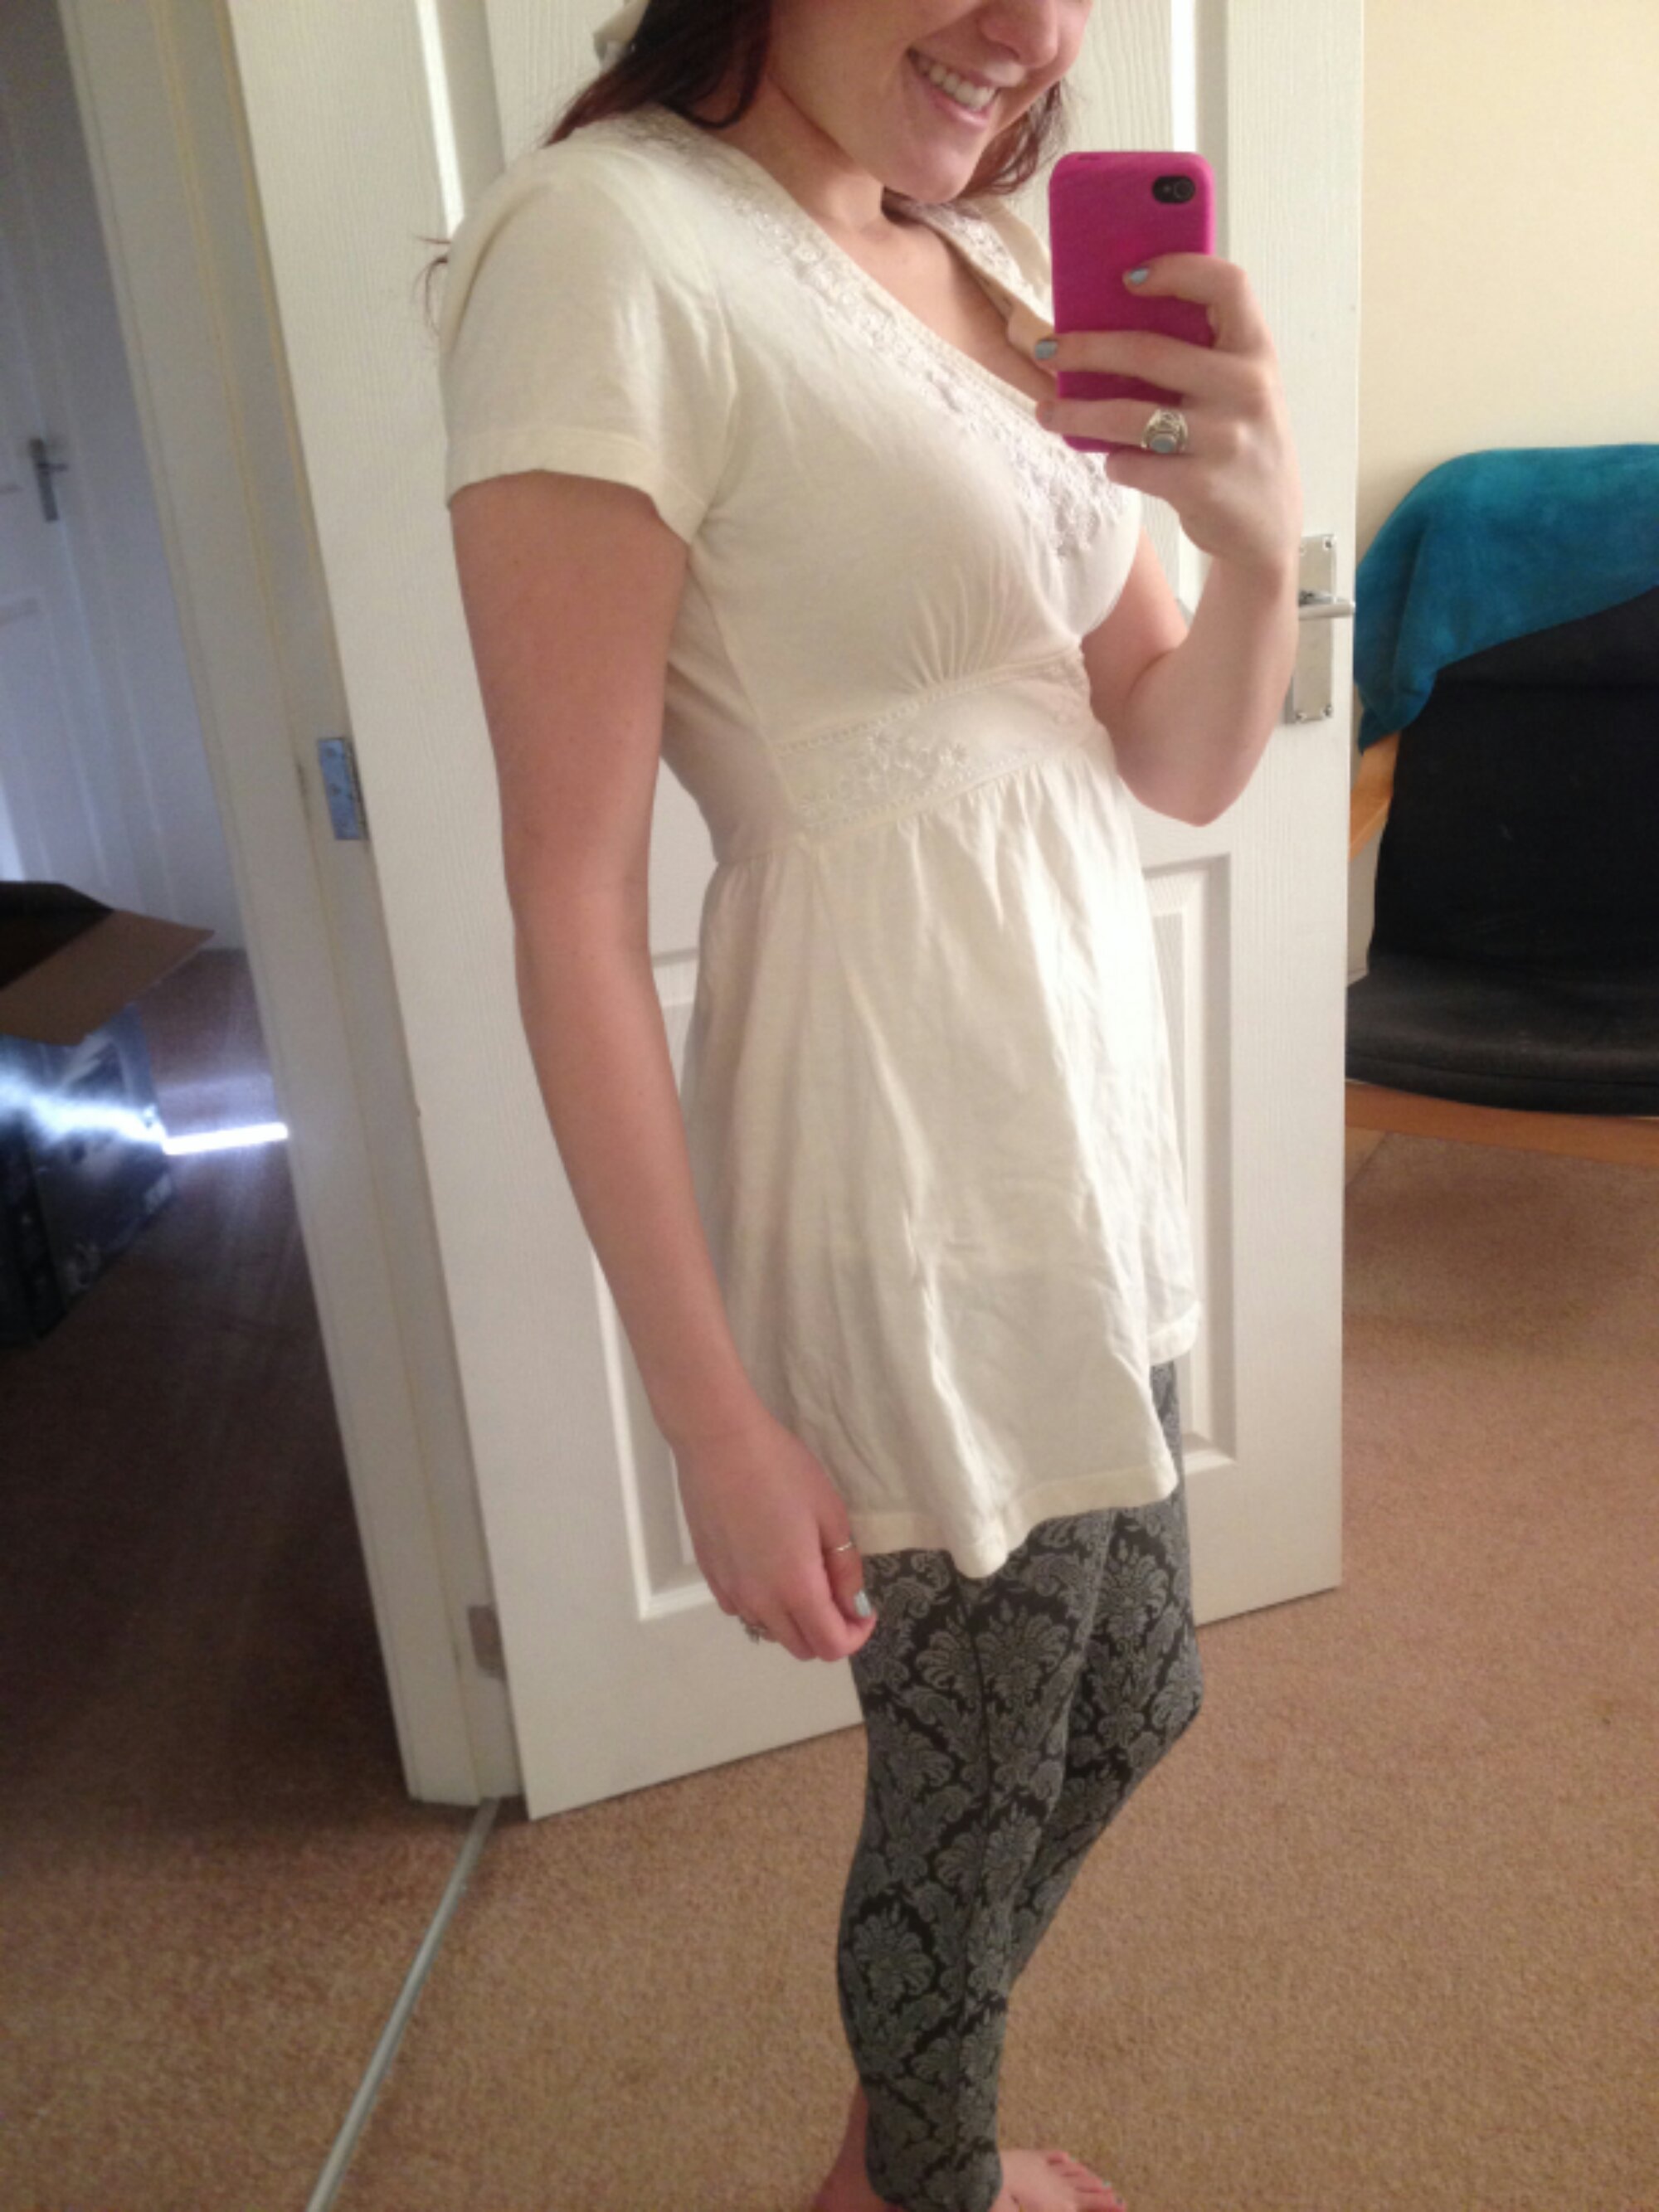
Go from baggy and unflattering to fitted and flowy with my step by step process.
Yes I can see how wrinkly my shirt is.
Step 1.
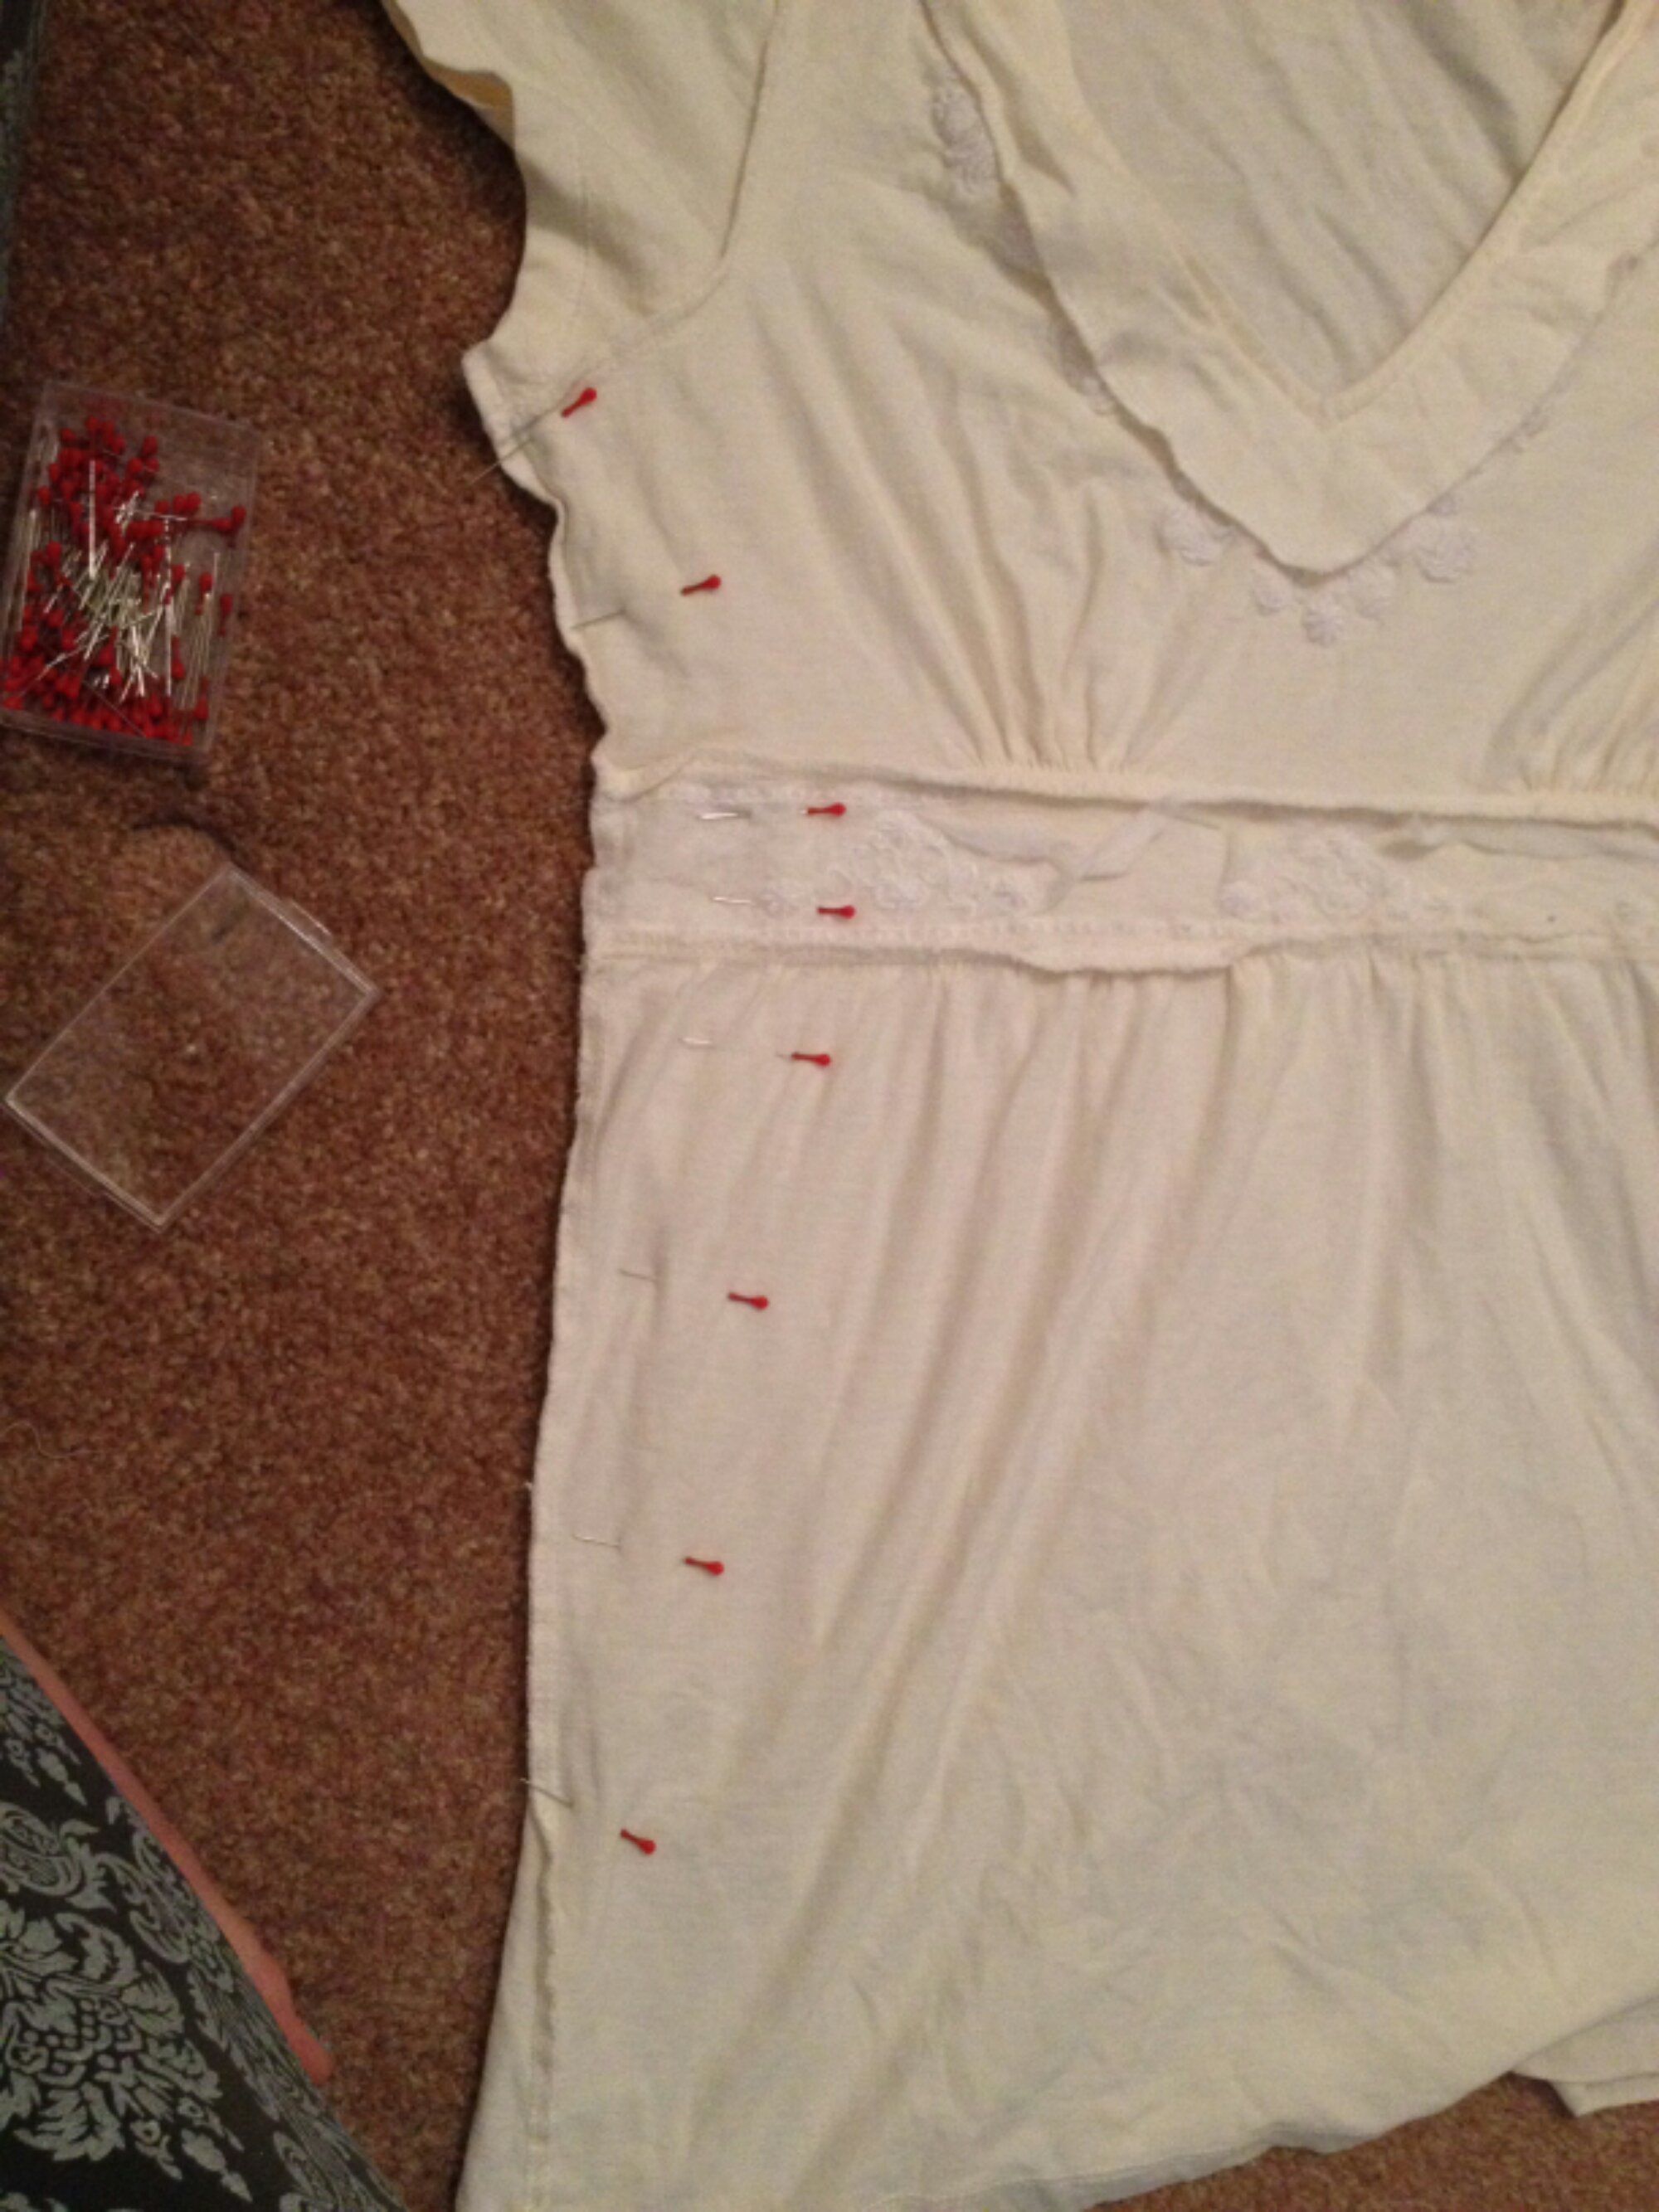
Try on the shirt. I use my thumbs to measure the sides. You can use a ruler to measure your shirt or your thumb if that helps. Try doing this in front of the mirror to see the effects of your measuring.
Pinch each side as evenly as possible.

Try to Fuchs on the waste band or detail because they is the center of the look you are trying to go for.
Try on the shirt. I use my thumbs to measure the sides. You can use a ruler to measure your shirt or your thumb if that helps. Try doing this in front of the mirror to see the effects of your measuring.
Pinch each side as evenly as possible.

Try to Fuchs on the waste band or detail because they is the center of the look you are trying to go for.
Try to do a natural taper down and up. Also try not to sew the arms too tightly
Step 3.
Sew the side as you have measured them with a straight stitch. Be careful with the material as not to pull or stretch as you sew.
Try the shirt on after you have sewn both sides
Be aware that it will have clumps of material inside because of the access material but do not cut that off yet just in case you want to change anything
Step 4.
Once you have finished sewing. Cut the slack off about a centimeter away from the stitch you made
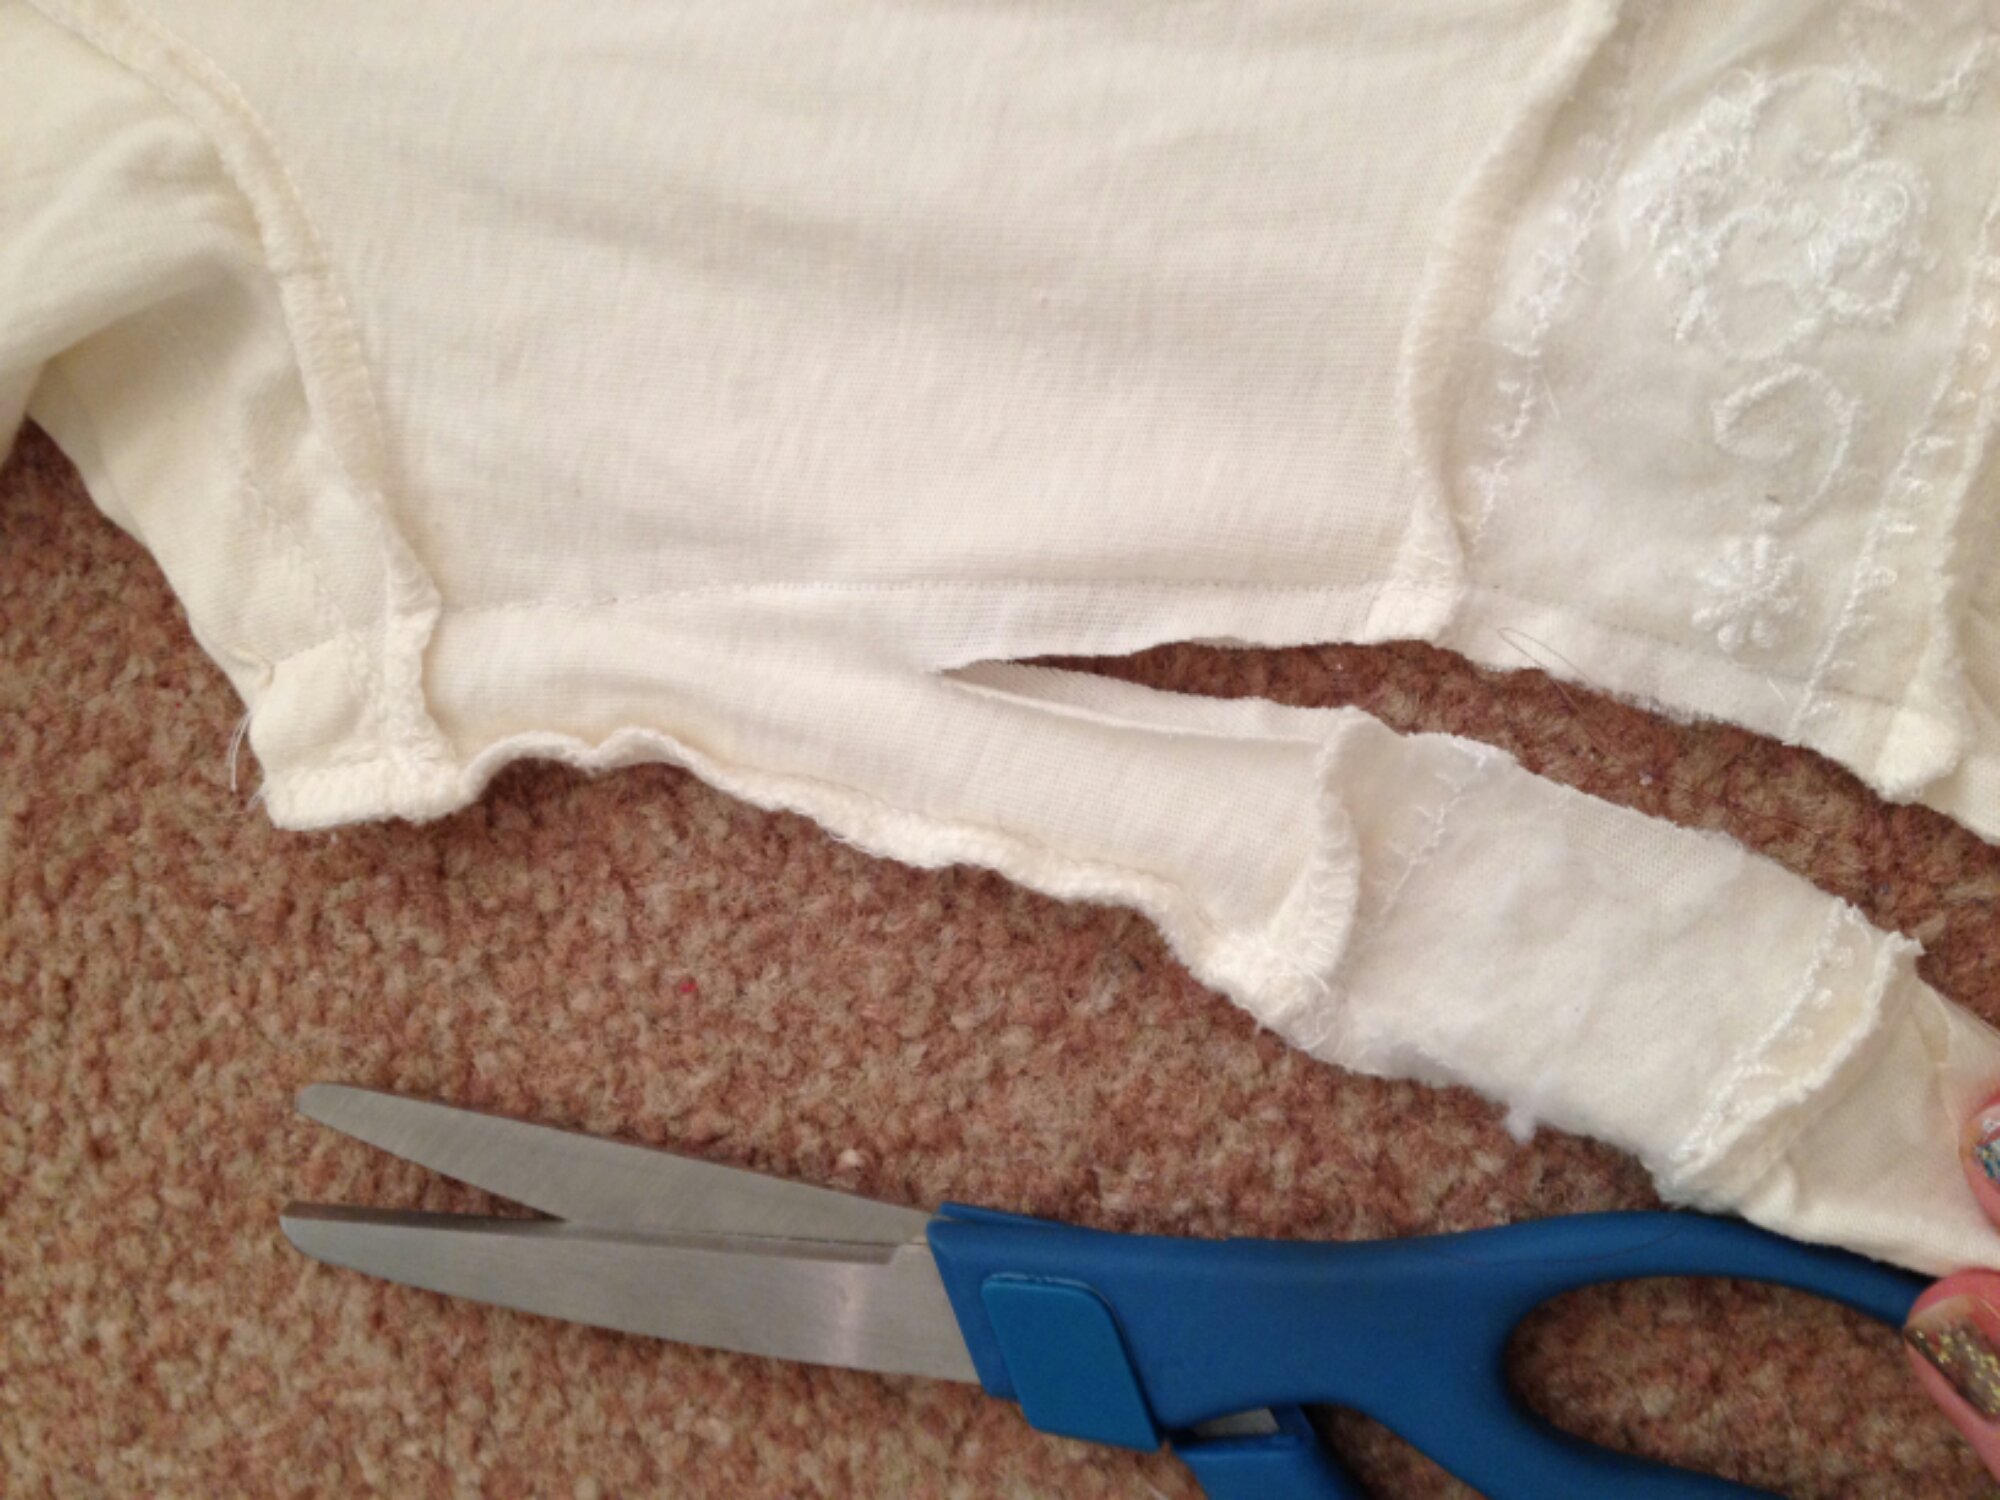
Once you have finished sewing. Cut the slack off about a centimeter away from the stitch you made

Step 5.
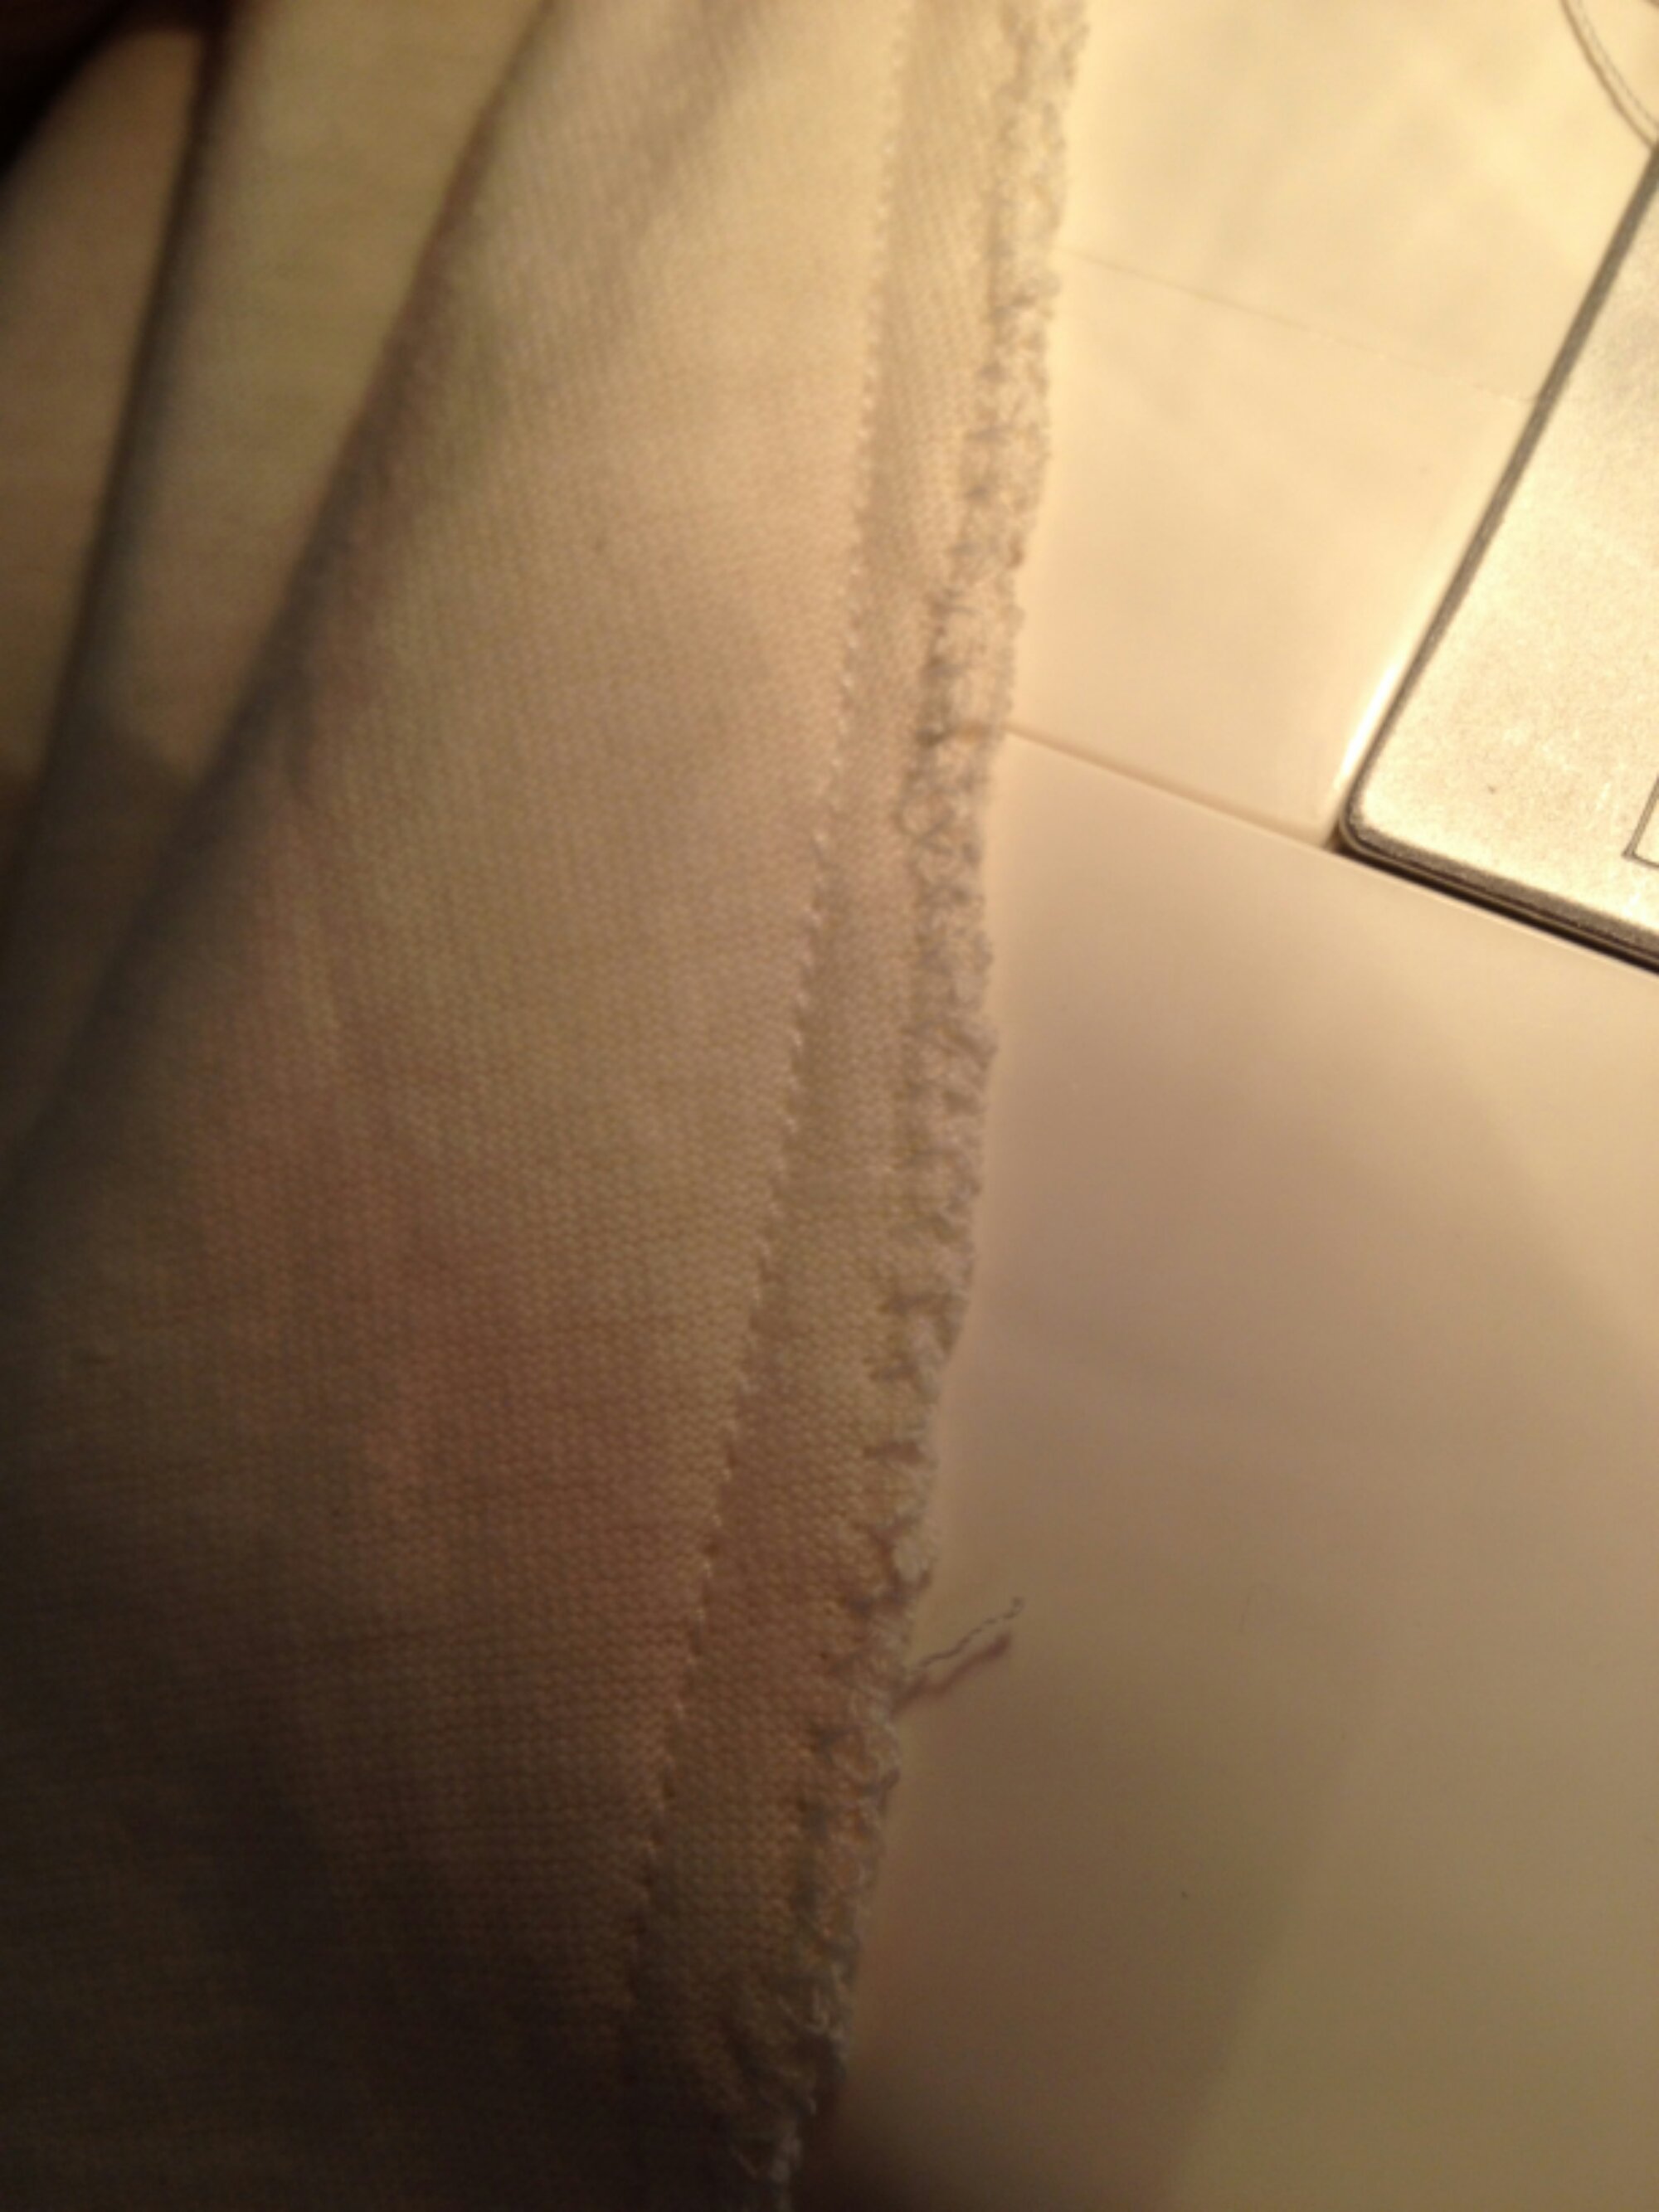
To make sure your raw edges won't fray (if you don't have a serger like myself) sew them with a zig zag stitch. The stretchier the material the wider the zig zag.
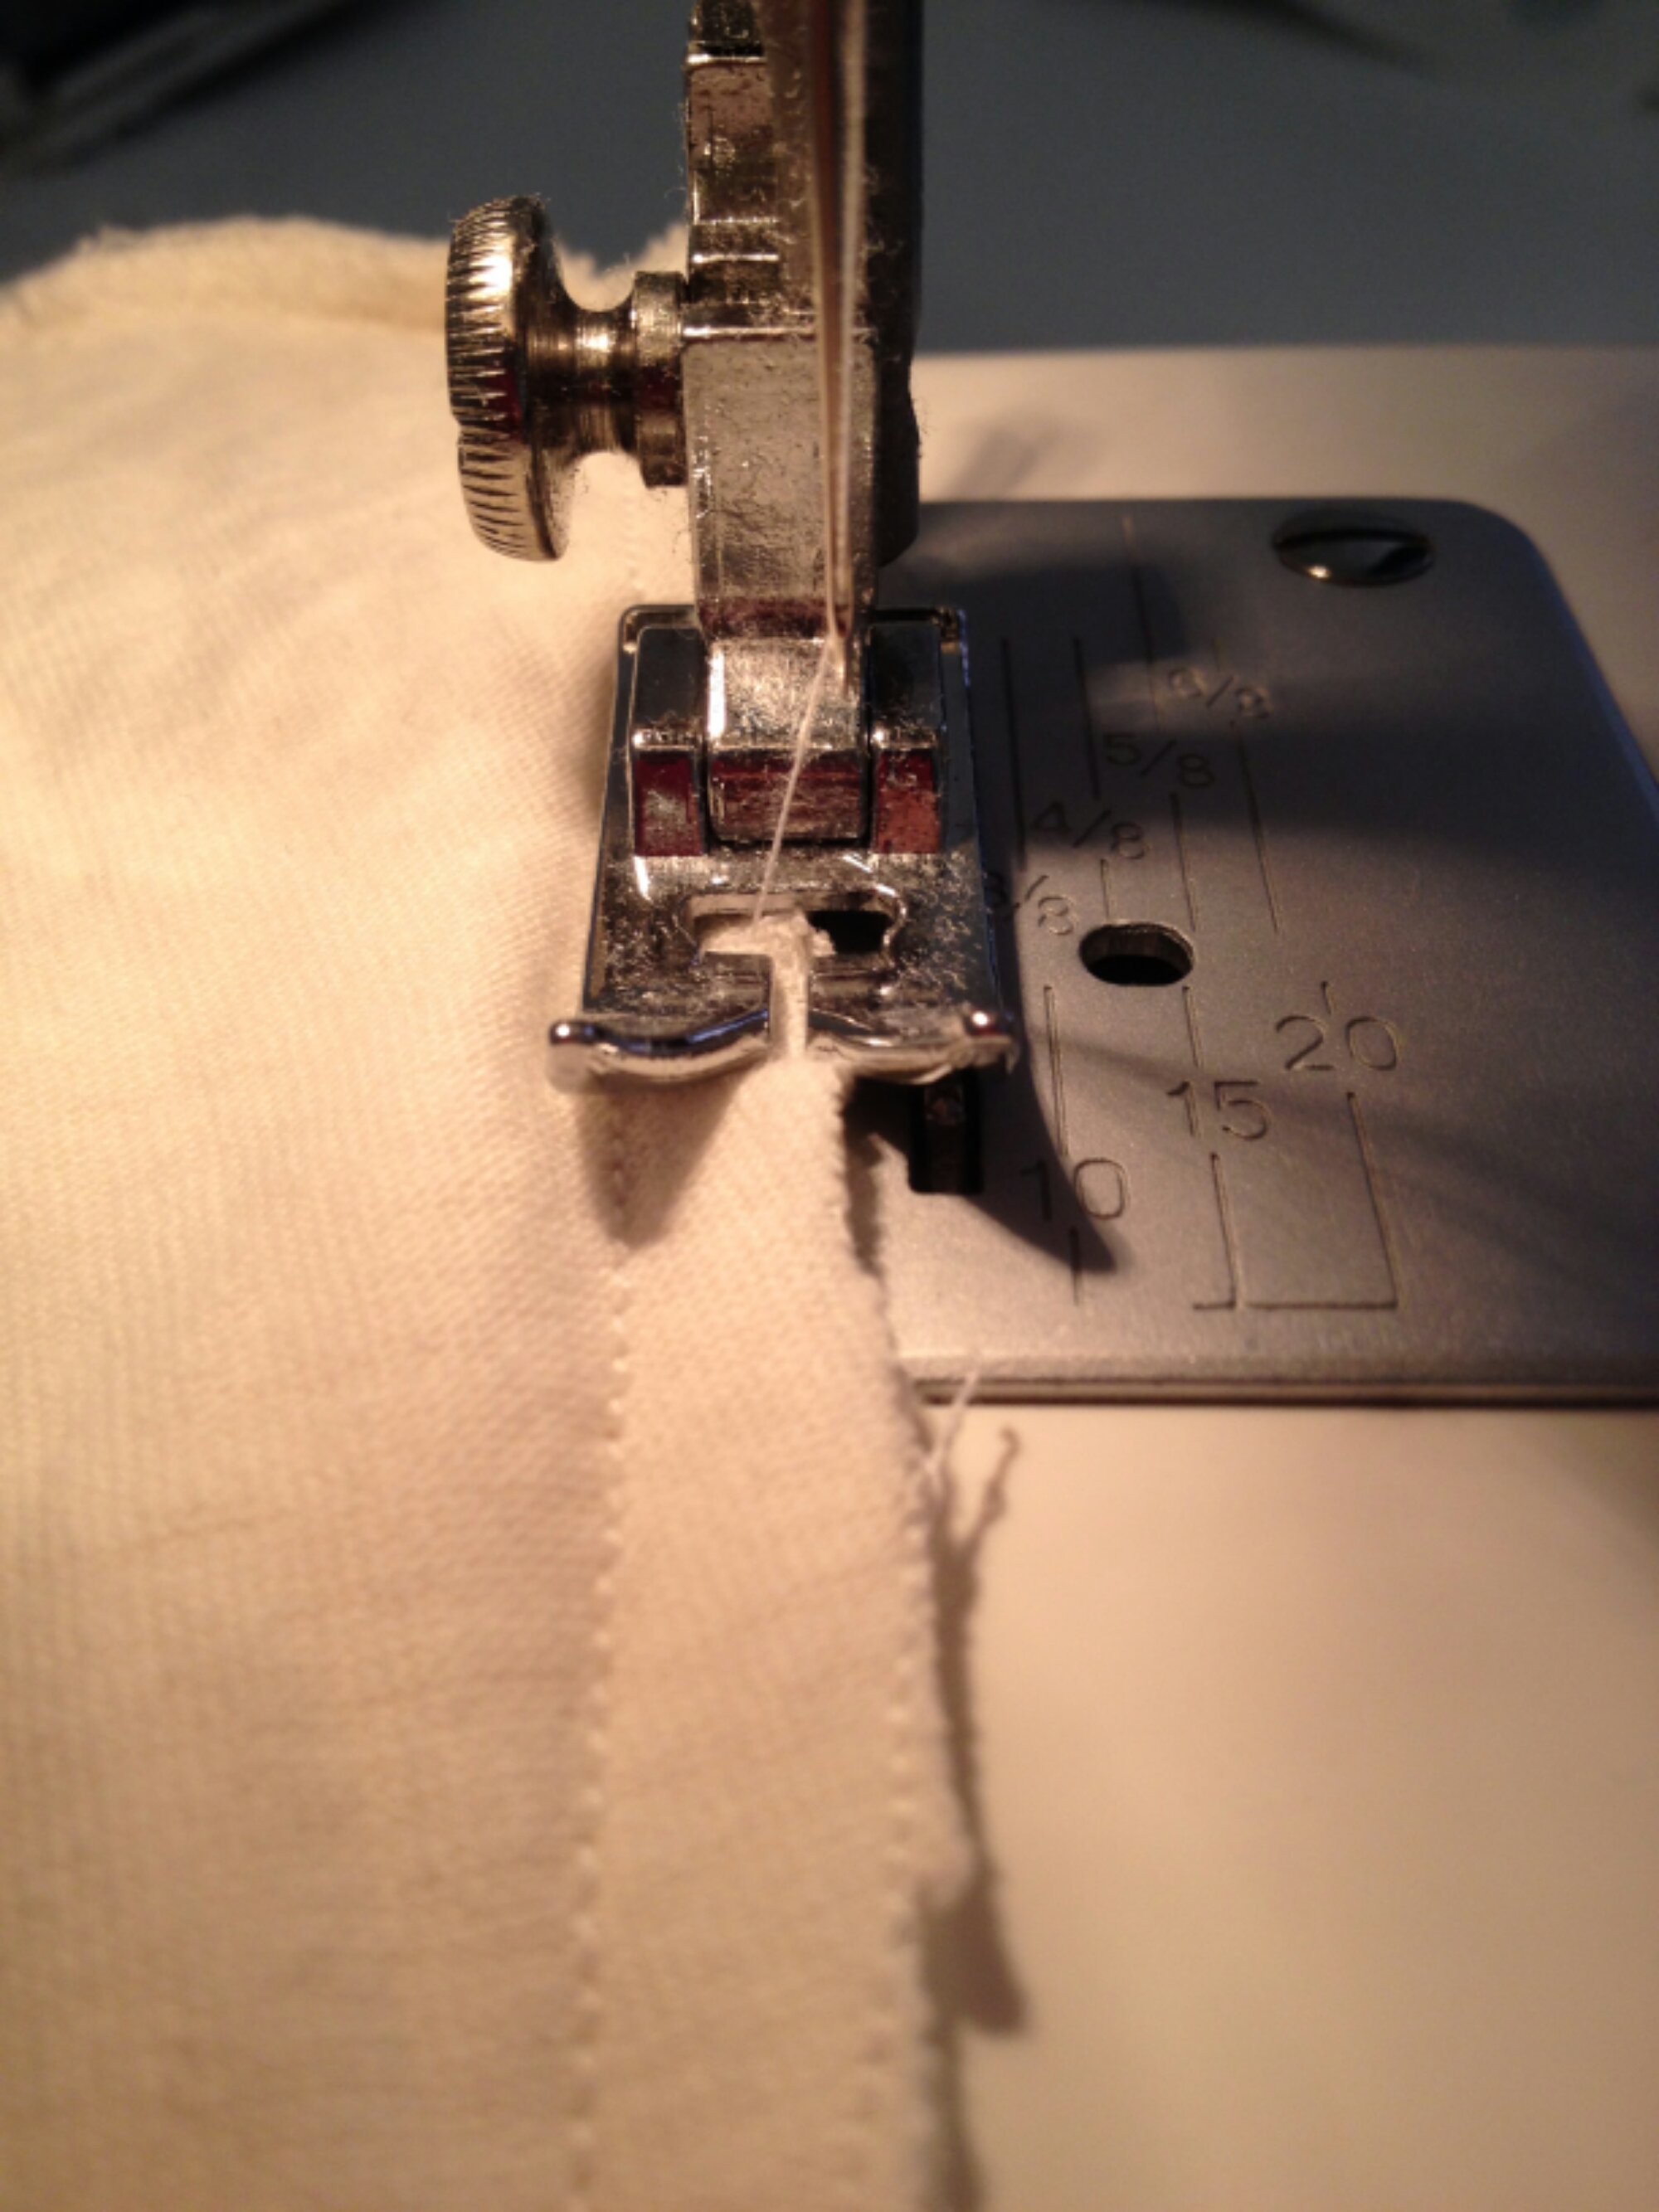
To make sure your raw edges won't fray (if you don't have a serger like myself) sew them with a zig zag stitch. The stretchier the material the wider the zig zag.

Again sorry for the wrinkles. Thanks for the support loves!
Advice: try to wash and dry anything you are about sew. Even if its used. helps with knowing what the end result will be. be prepared to try the shirt on many times during the process (or if you are doing it for someone else try not to cut anything until they have tried on your modifications)

No comments:
Post a Comment