Friday, February 21, 2014

Striped T - Bring In Collar (good find) (resize collar)


I found this shirt for a deal (it was too big of course) So I was drowning in the neck line! Here is how I fixed it!

Step 1.

Try on the shirt and see where you would actually like the neck to lay. I chose to sew in the shoulders. but that means some serious bunching around that area! but thats ok because I think it adds a nice touch. So measure how much you will need to sew in by pinching and using your fingers or a ruler.

If you feel like this
when you are wearing it, it needs to be fixed! 

Step 2. 

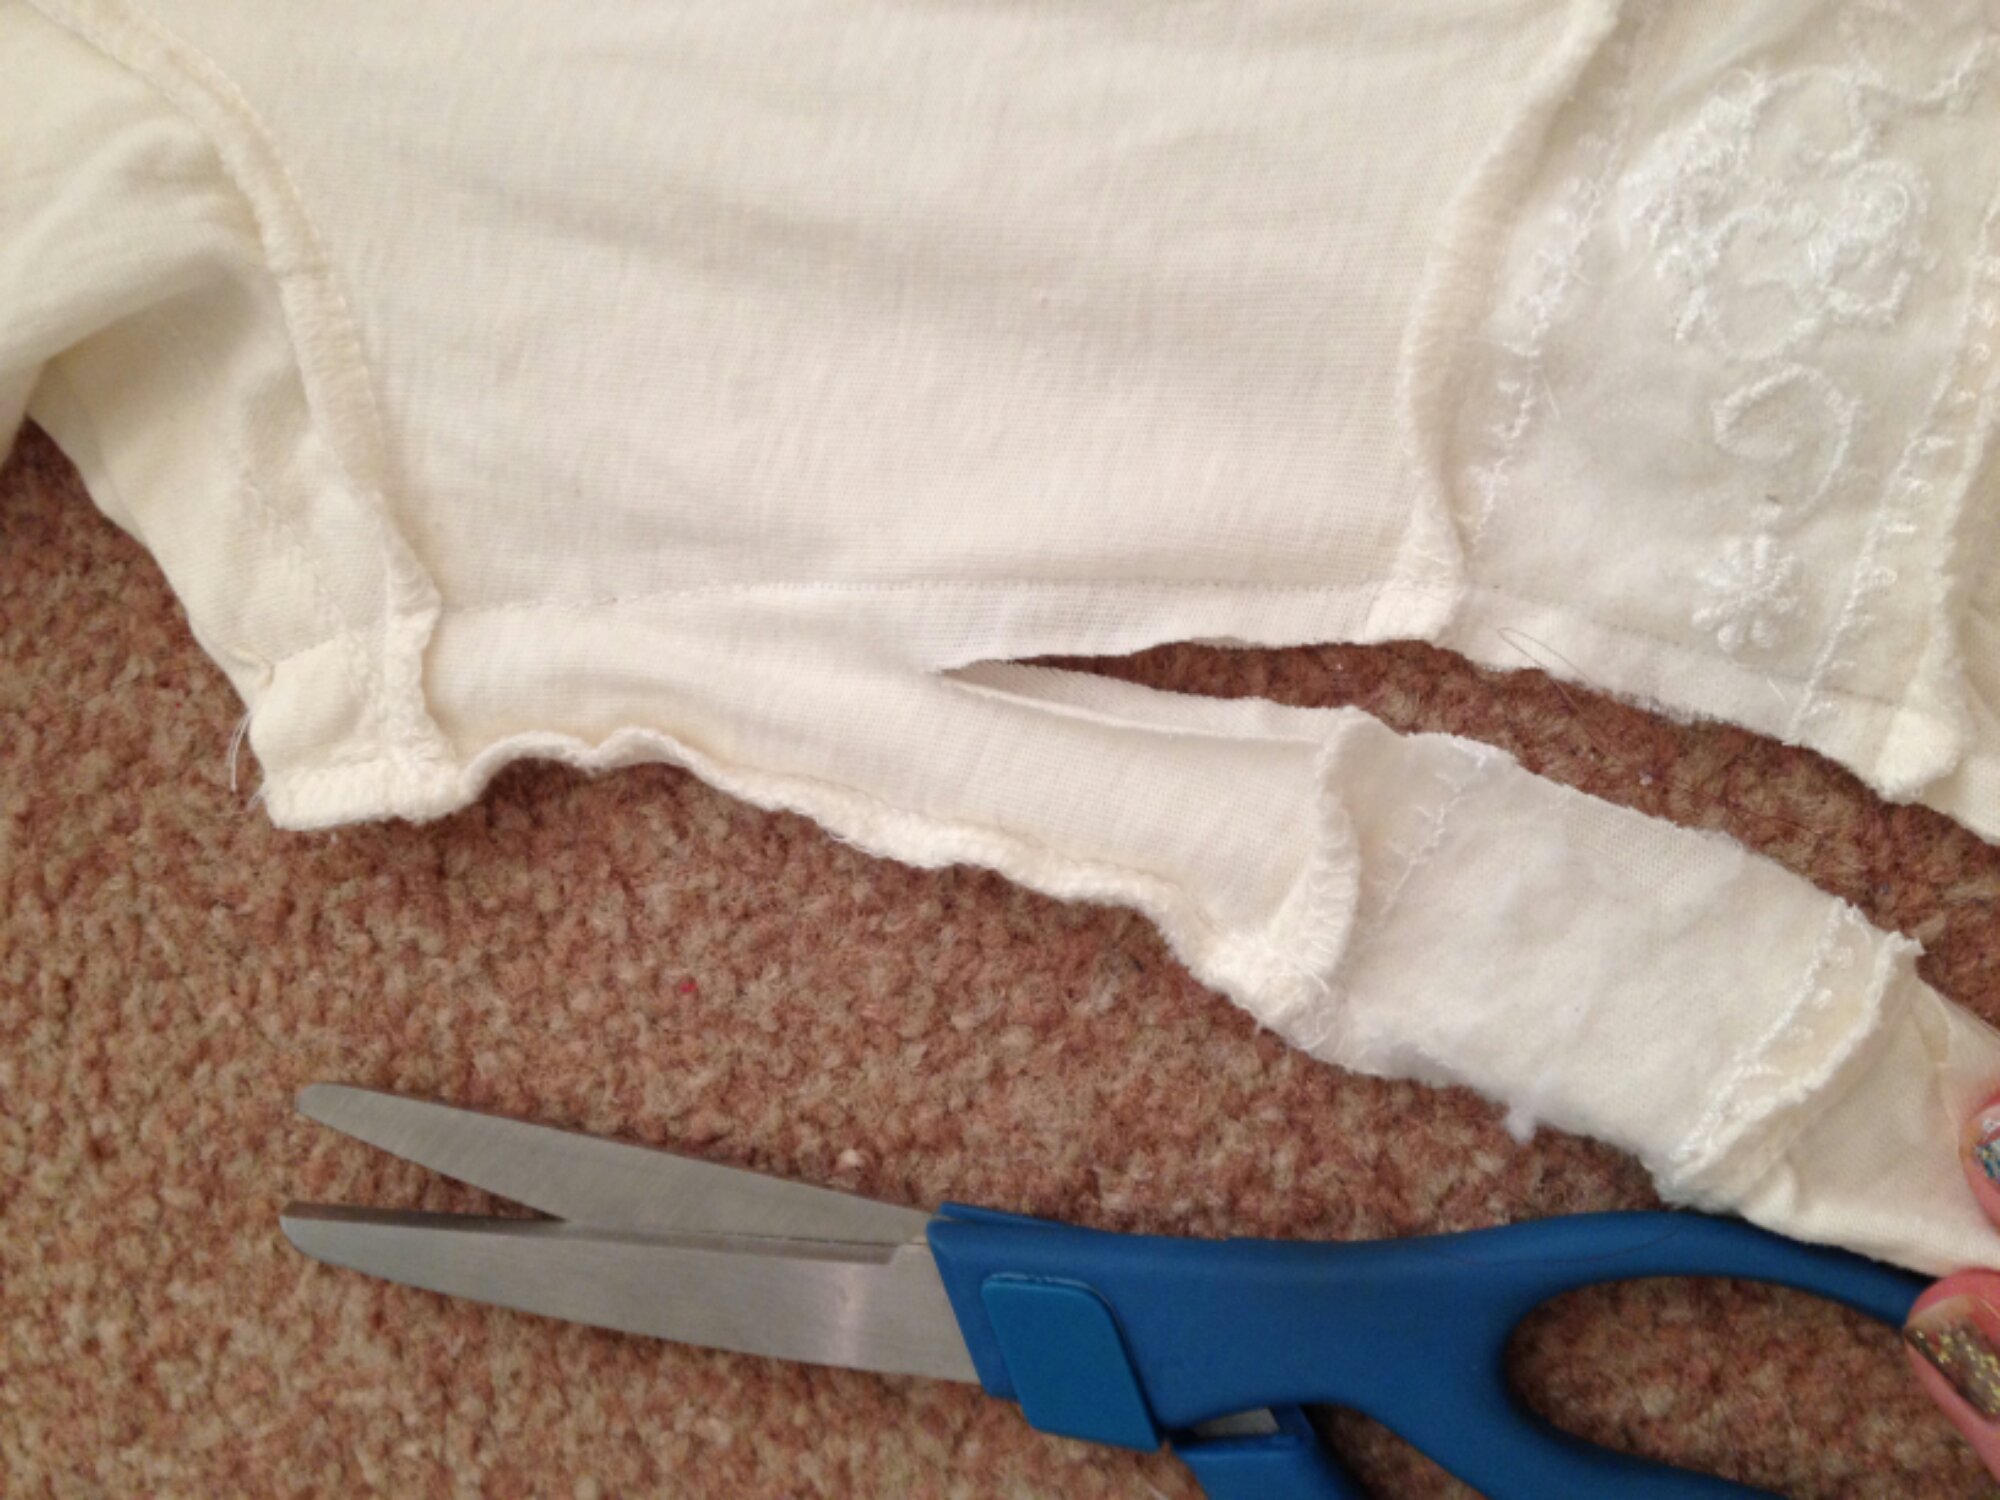
Try to make the shoulders seem lines match up. This means serious bunching on the back. thats ok just try to make the bunching spread evenly. Unpick the shoulder and cut until you reach the sleeve.
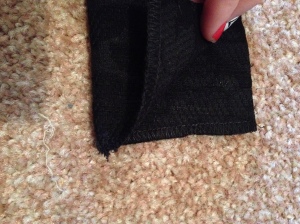
you should have a nice hole there now
Step 3. 

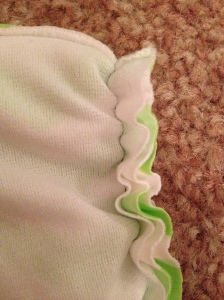
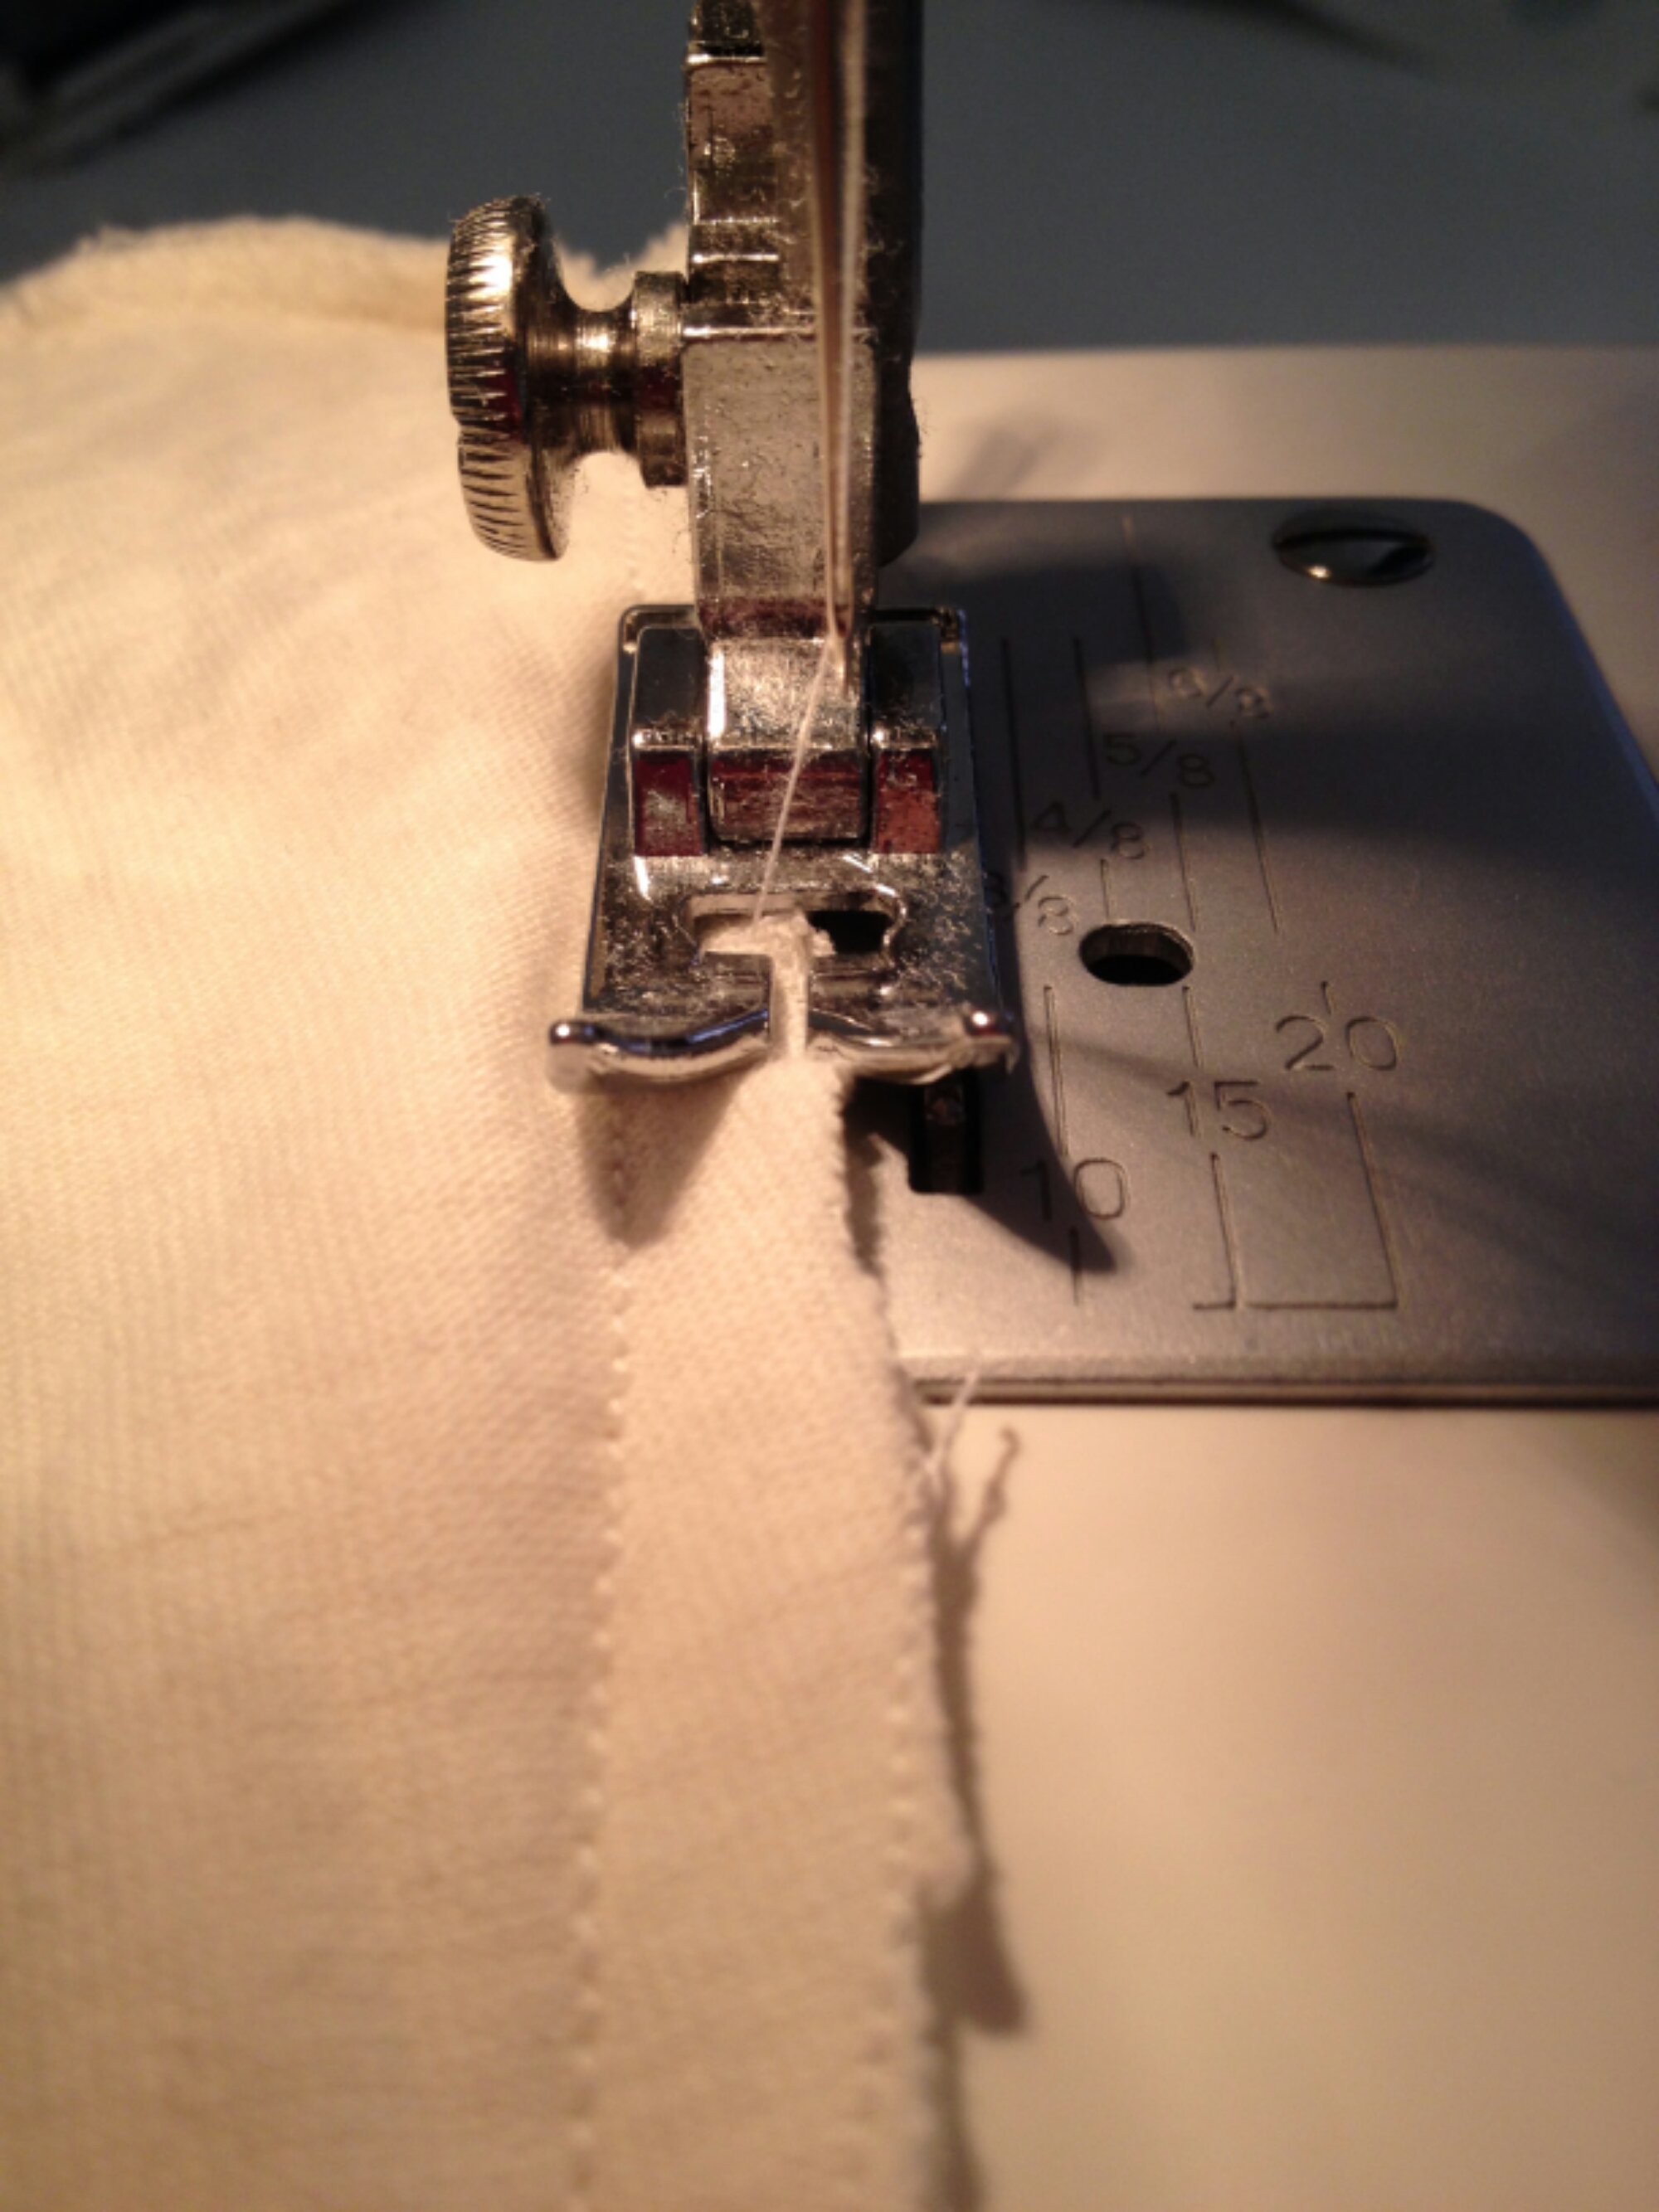
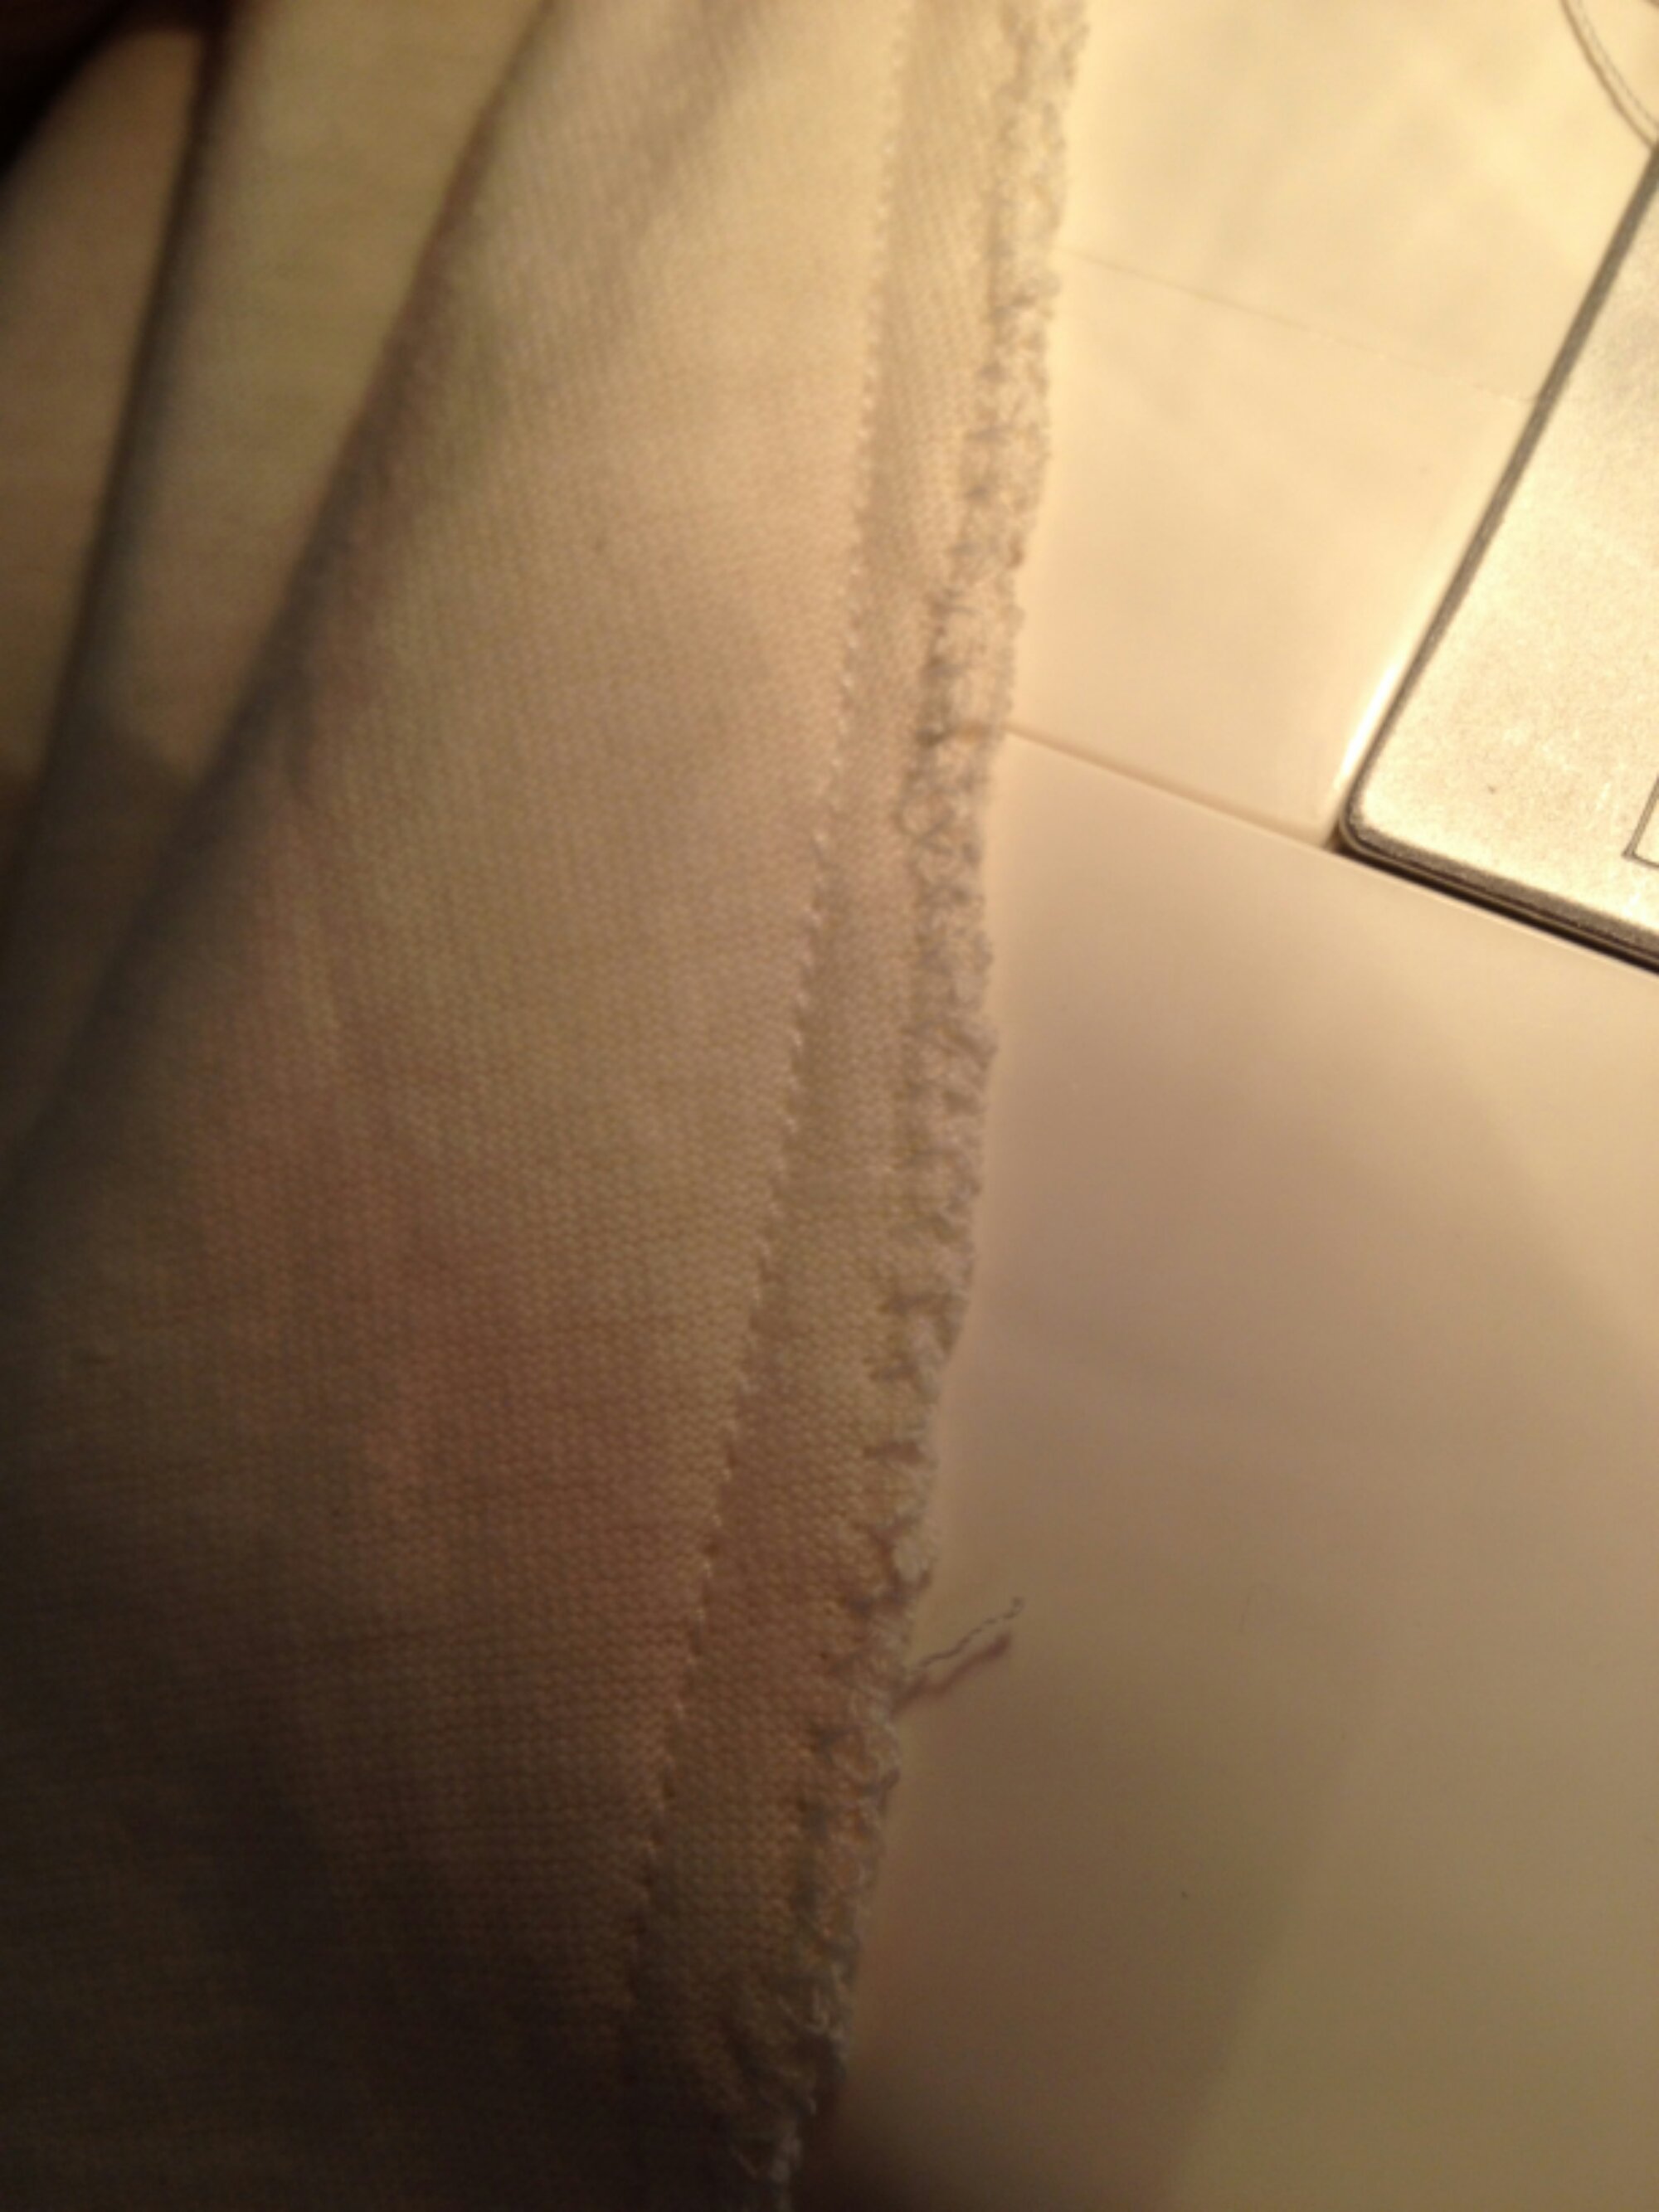
Pinch the center of the hole and sew along that making a nice pleated effect. Make sure to Zig Zag stitch along the edges to there is no fraying! I moved the pleat over a bit so it was more in the center of my shoulder.

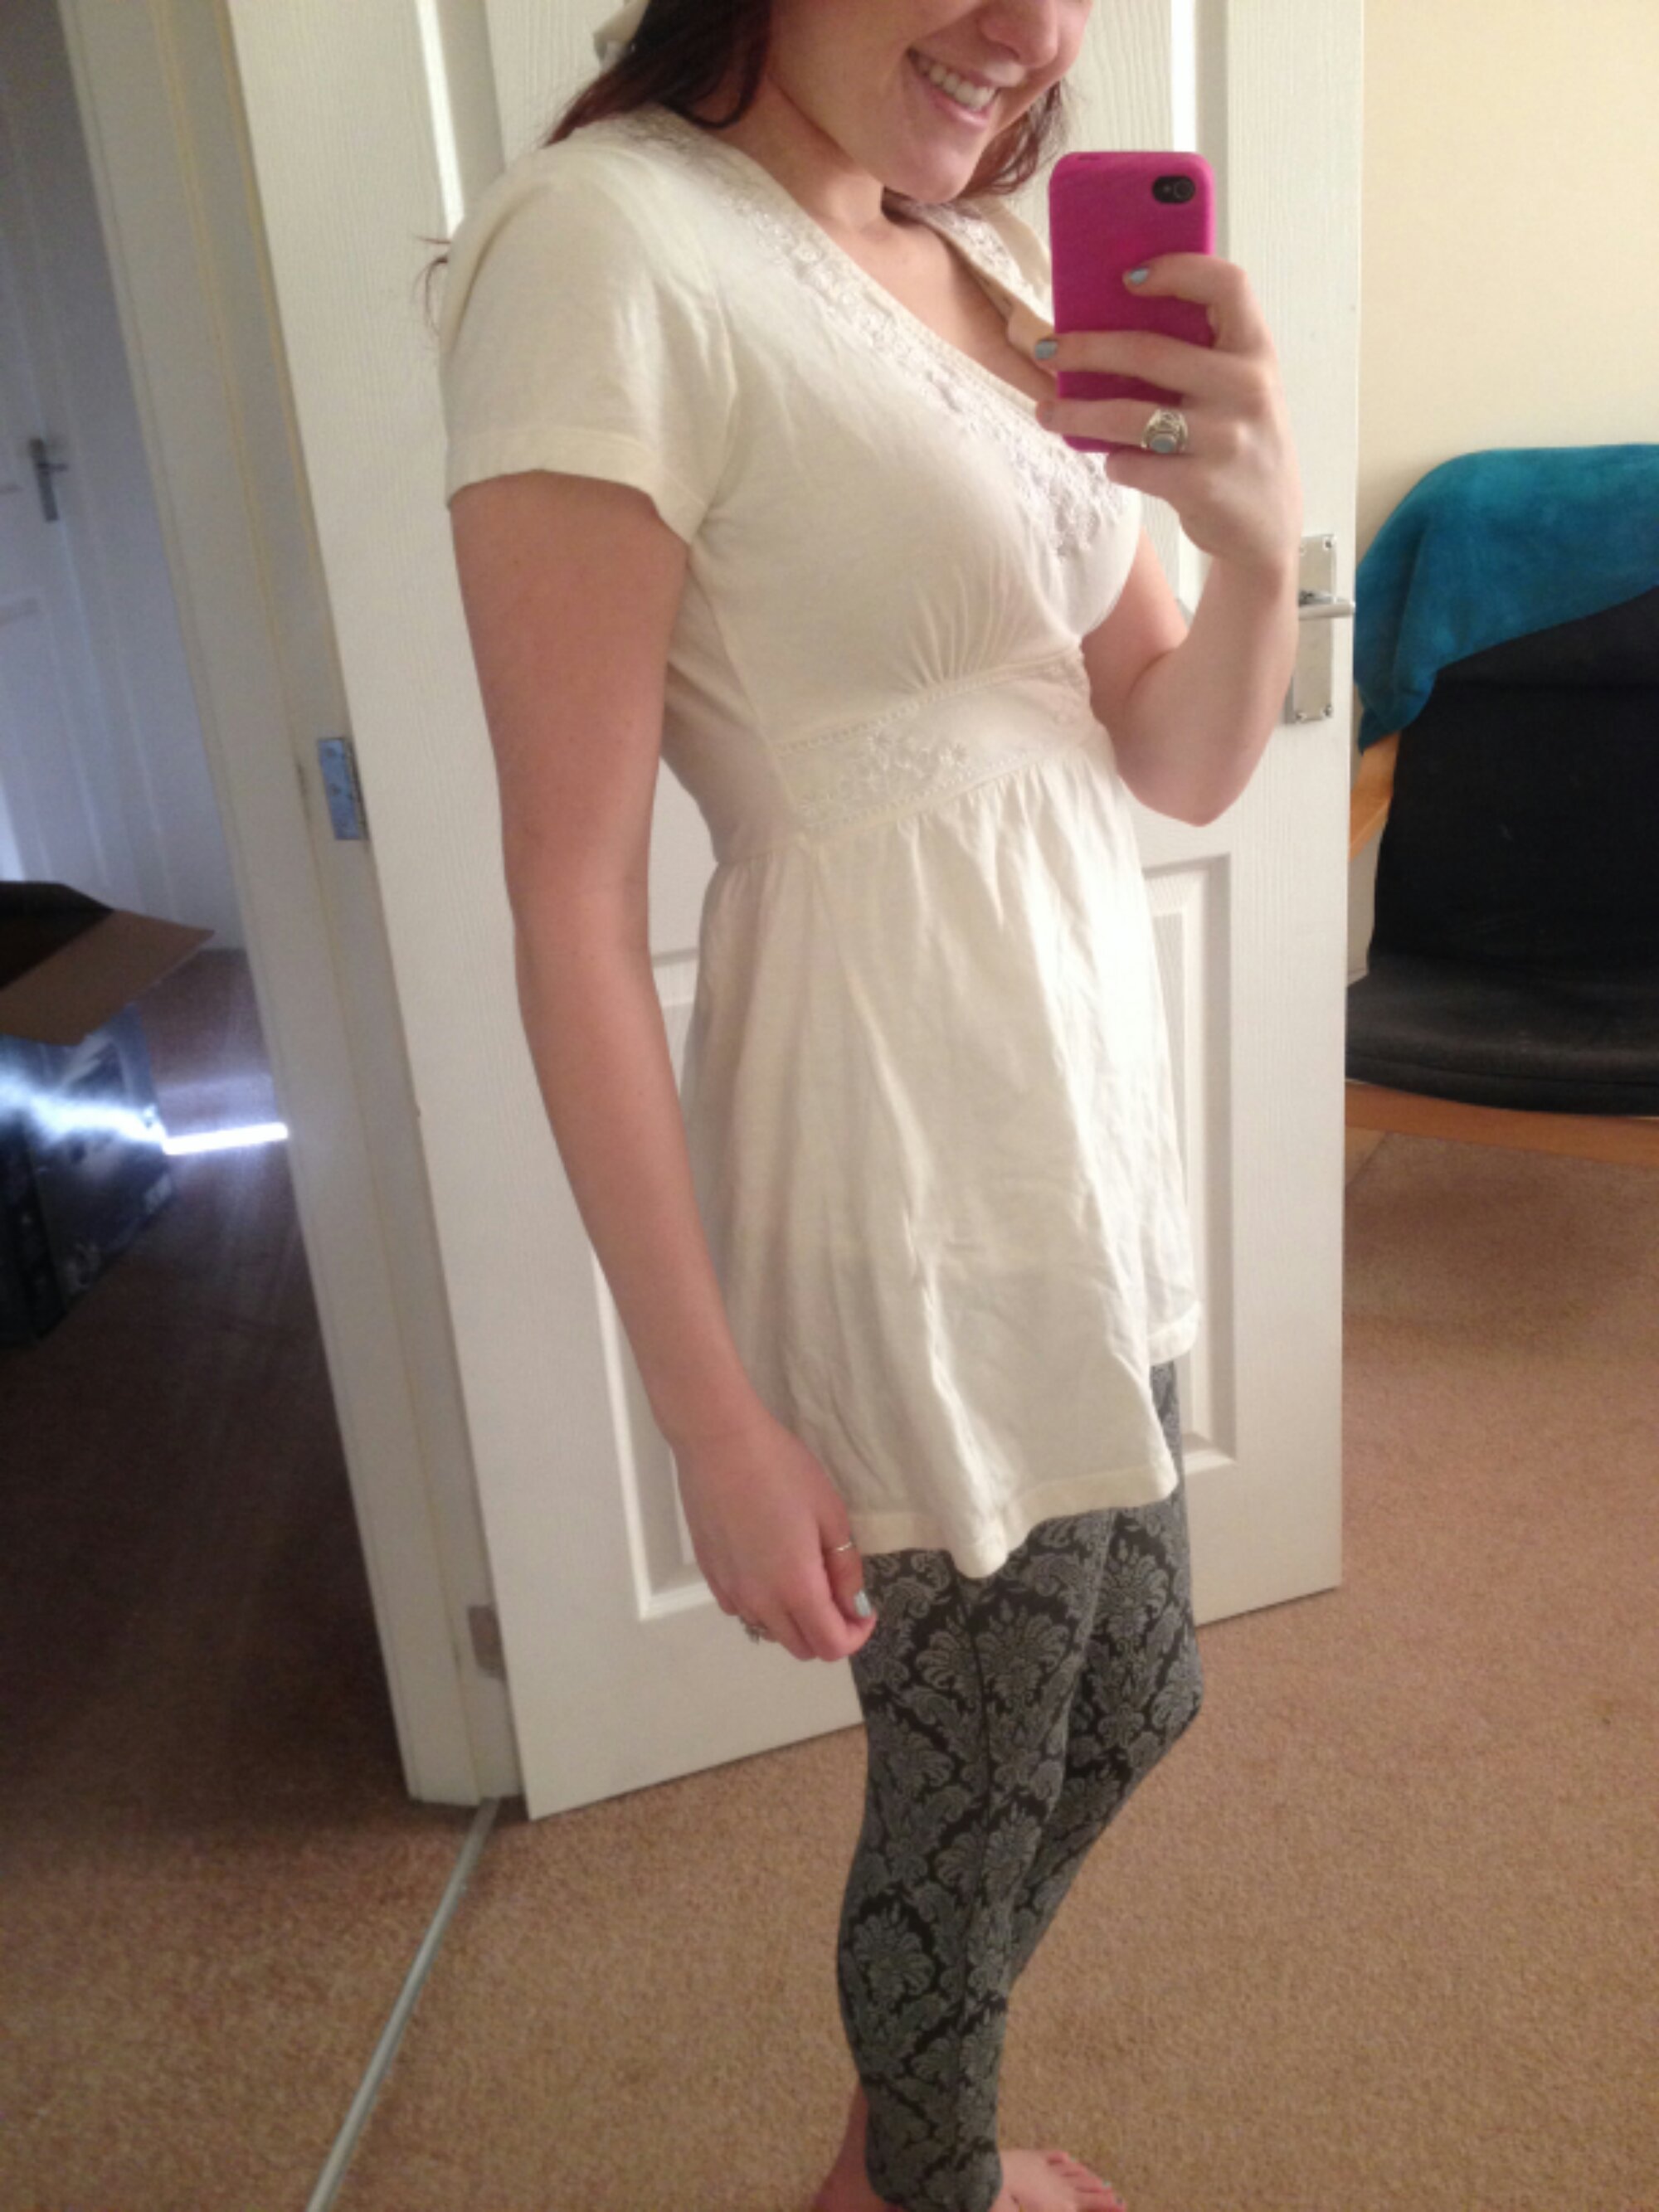
And hoorah its fixed!!
Thanks for your support guys!! 
- LOVES


Wednesday, February 19, 2014

Why I Am Blogging About This

I am starting this blog because I love to sew and alter/repurpose things.
I have done little projects for myself, friends and family (a.k.a. altering clothing, repurposing furniture, etc.) and people often ask me how I do this or that. I could always show them or do it for them, but recently my wonderful husband and I moved from St. George, UT. to Rutherglen, Scotland. Big change.
So the main thing I have to work with is clothing due too the fact we moved into a furnished apartment, sold pretty much all of our furniture and are not buying furniture to ship home when ever it is that we may return. 
Also I believe it is a good idea to get some modest ideas out in the world.
This blog is me sharing my ideas on altering clothing. (and maybe in the future other things as well)
I do not mind feed back at all on things I am doing so feel free to suggest anything you like!

Tuesday, February 18, 2014

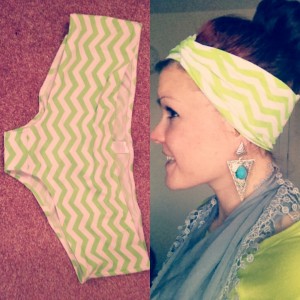
Swimsuit Bottoms - Headband (good find) (repurpose)

IMG_20140217_173036
So I found this CUTE swimsuits bottoms and they were on sale for a stinking Pound so I had to get them of course but the only size they had was 22... What is a girl to do?! So I decided to make them into a headband! Heres how I did it!
Step 1.
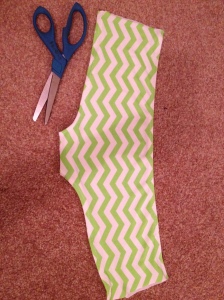
Measure out about how long you need it to be, to be able to wrap it around your head comfortably. make sure to make it tight enough to stay on but loose enough to be comfortable.
2014-02-17 14.55.39
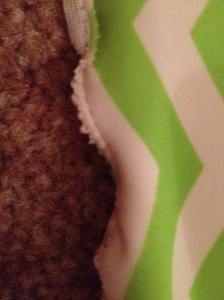
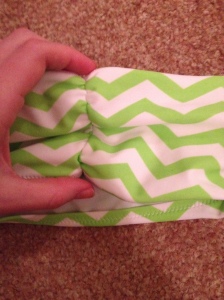
Cut the side and the width to be straight. Raw edges are fine with this material, so no worries about sewing that up if you don'd want to, but it tends to get a little bunchy. heres what that looks like.
2014-02-17 15.20.23
Thats alright too though because when you wear it, it pulls it tight enough you can not really notice!
Step 2.
Fold the whole thing in half, face together. Sew along the raw edge. pull the material if you can so it will bunch slightly.
2014-02-17 15.06.27
It is fine to leave the raw edge. it does not fray! (SO NICE)
Step 3.
Flip the material right side out and you should have a circle now that fits around your head nicely! You can leave it just as a band or you can add any detail you would like. I wanted mine to be a little simple but a fun pinch on one side so thats the next step!
Step 4. (optional)
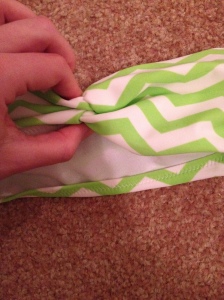
Take the line you sewed and pinch it together.
2014-02-17 15.20.532014-02-17 15.21.00
Like so. Hand stitch where you pinched together and Vuala!
2014-02-17 15.48.09-1
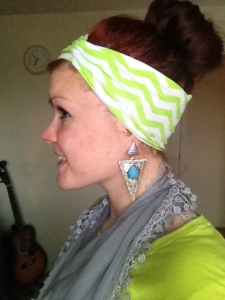
Headband Happiness!!
Thanks for the love everyone!
LOVES!

Black Dress - Thick, Patterned (good find) (complete redo)

IMG_20140210_200644
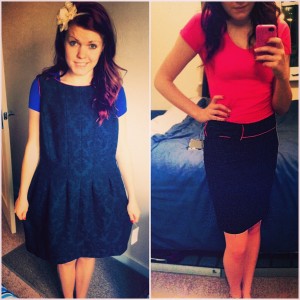
See how I took this size 16 dress and turned it into a size 4 skirt
Step 1.
Try on the dress. measure where you would like the skirt to start and end.
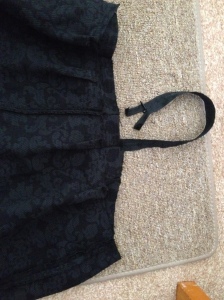
cut the entire bodice off. Leaving the lining alone (pick the lining off before cutting)
do not cut the zipper off. pick the zipper off the dress to where you will cut.
Left with something looking like this.
2014-02-10 12.30.14 2014-02-10 12.41.26
Step 2.
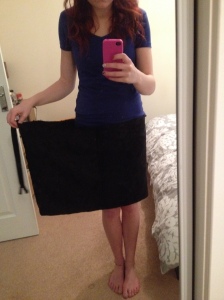
Measure how far you would like to go in on the waist
I wanted more of a pencil skirt feel.
Try to follow the natural curve of your body concerning the placement of the skirt
sew it in. Cut off the excess. Make it a clean stitch with a zig zag stitch or a serger.

Step 3.
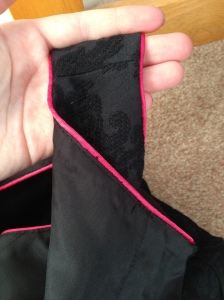
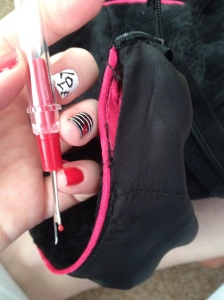
The yoke is usually the hardest part for most. I wanted to use the pink lining found around the neck and the arms
2014-02-10 12.20.40 2014-02-10 12.23.54

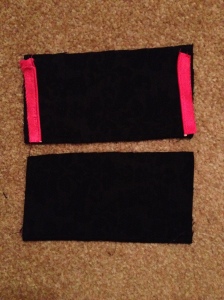
Unpick the lining and make your yoke by placing 2 pieces of material (rectangles the length of just over half your skirt and with width or about 4 inches) face together, sew one side and flip it open and put the pink lining alongside the raw edge and do a basting stitch to keep it in place.
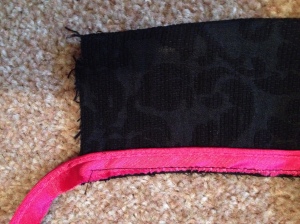
 2014-02-10 16.15.05 2014-02-10 16.14.47


Step 4.
line the yoke up with the skirts waist line faces together with lining in the middle. Sew all the way around the waist using a zipper foot so get as close to the lining as possible. Until you reach the zipper sew as close the zipper as you can.

Step 5.
the zipper is also a difficult area. Make sure you have a zipper foot. Fold the yoke up and fold the raw edge against the zipper. Sew as close to the zipper as you can. Cut the zipper just above where you sewed and tuck the raw end of the sipper behind the yoke. Do a few stitches to hold it down.

Step 6.
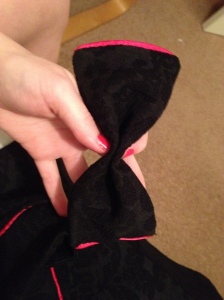
The bow is just because I have a bunch of left over material so it's just for fun
Take two rectangle pieces of material (about 5 inches by 3 inches). Put them face to face the widths with the lining in between.
 2014-02-10 18.06.11

Sew all the around the edges (making sure to get up against the lining.
Leave about an inch opening to use to flip the faces out.
Pinch the middle. Adjust to get desired effect and hand stitch a few stitches there to hold it in place
2014-02-10 18.46.09

Step 7.
Find where you would like the bow to go and hand stitch into place
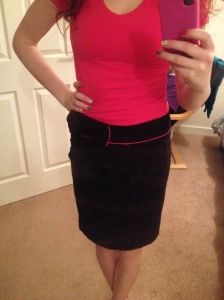
and Voila! there is it. You have a cute fitted skirt with fun details!
2014-02-10 19.09.13 2014-02-10 19.27.04

Thanks for your input guys! LOVES!

Shirt With Upper Waist Detail (hand me down) (resize)

image
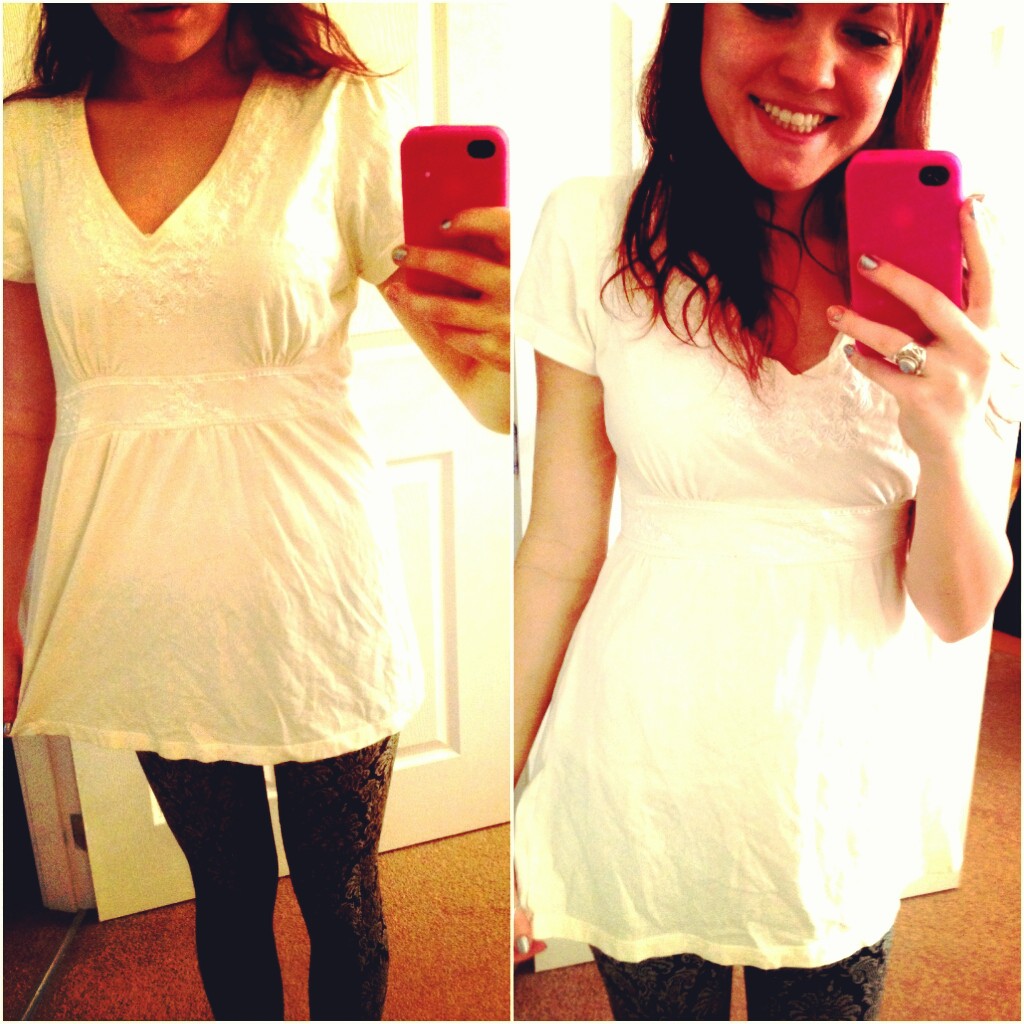
Go from baggy and unflattering to fitted and flowy with my step by step process.
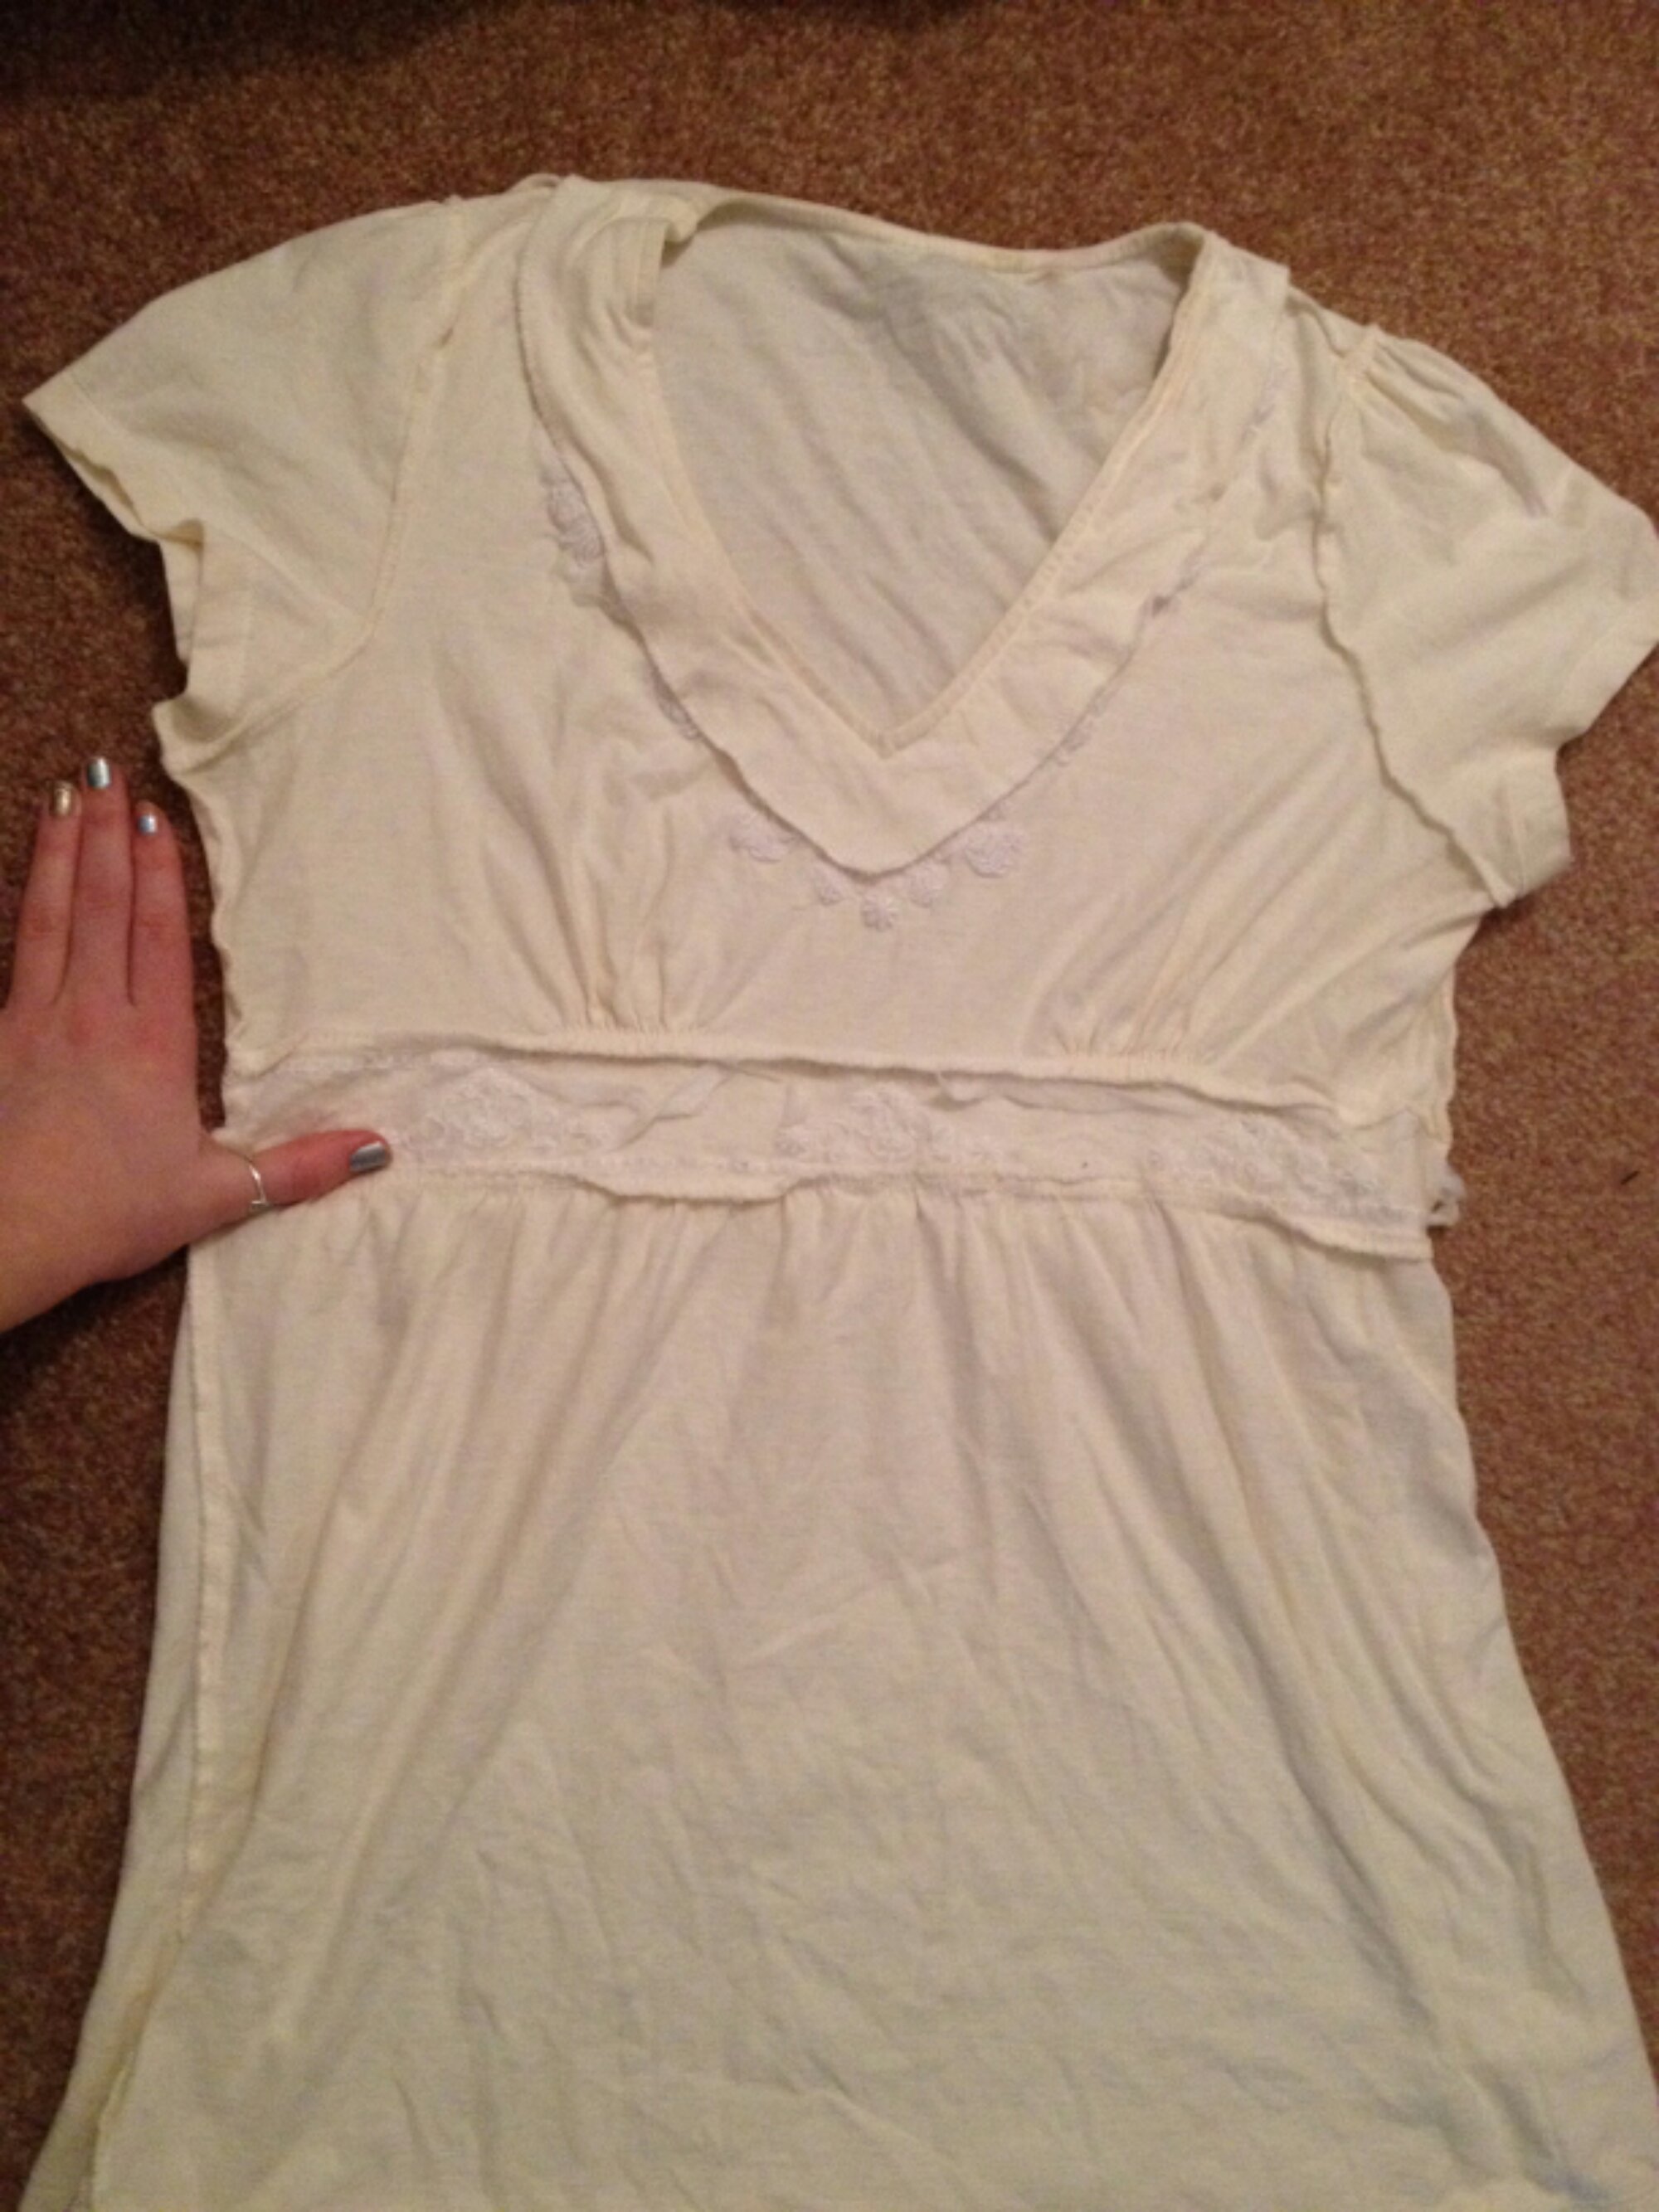
Yes I can see how wrinkly my shirt is.
Step 1.
Try on the shirt. I use my thumbs to measure the sides. You can use a ruler to measure your shirt or your thumb if that helps. Try doing this in front of the mirror to see the effects of your measuring.
Pinch each side as evenly as possible.
image
Try to Fuchs on the waste band or detail because they is the center of the look you are trying to go for.
Step 2.
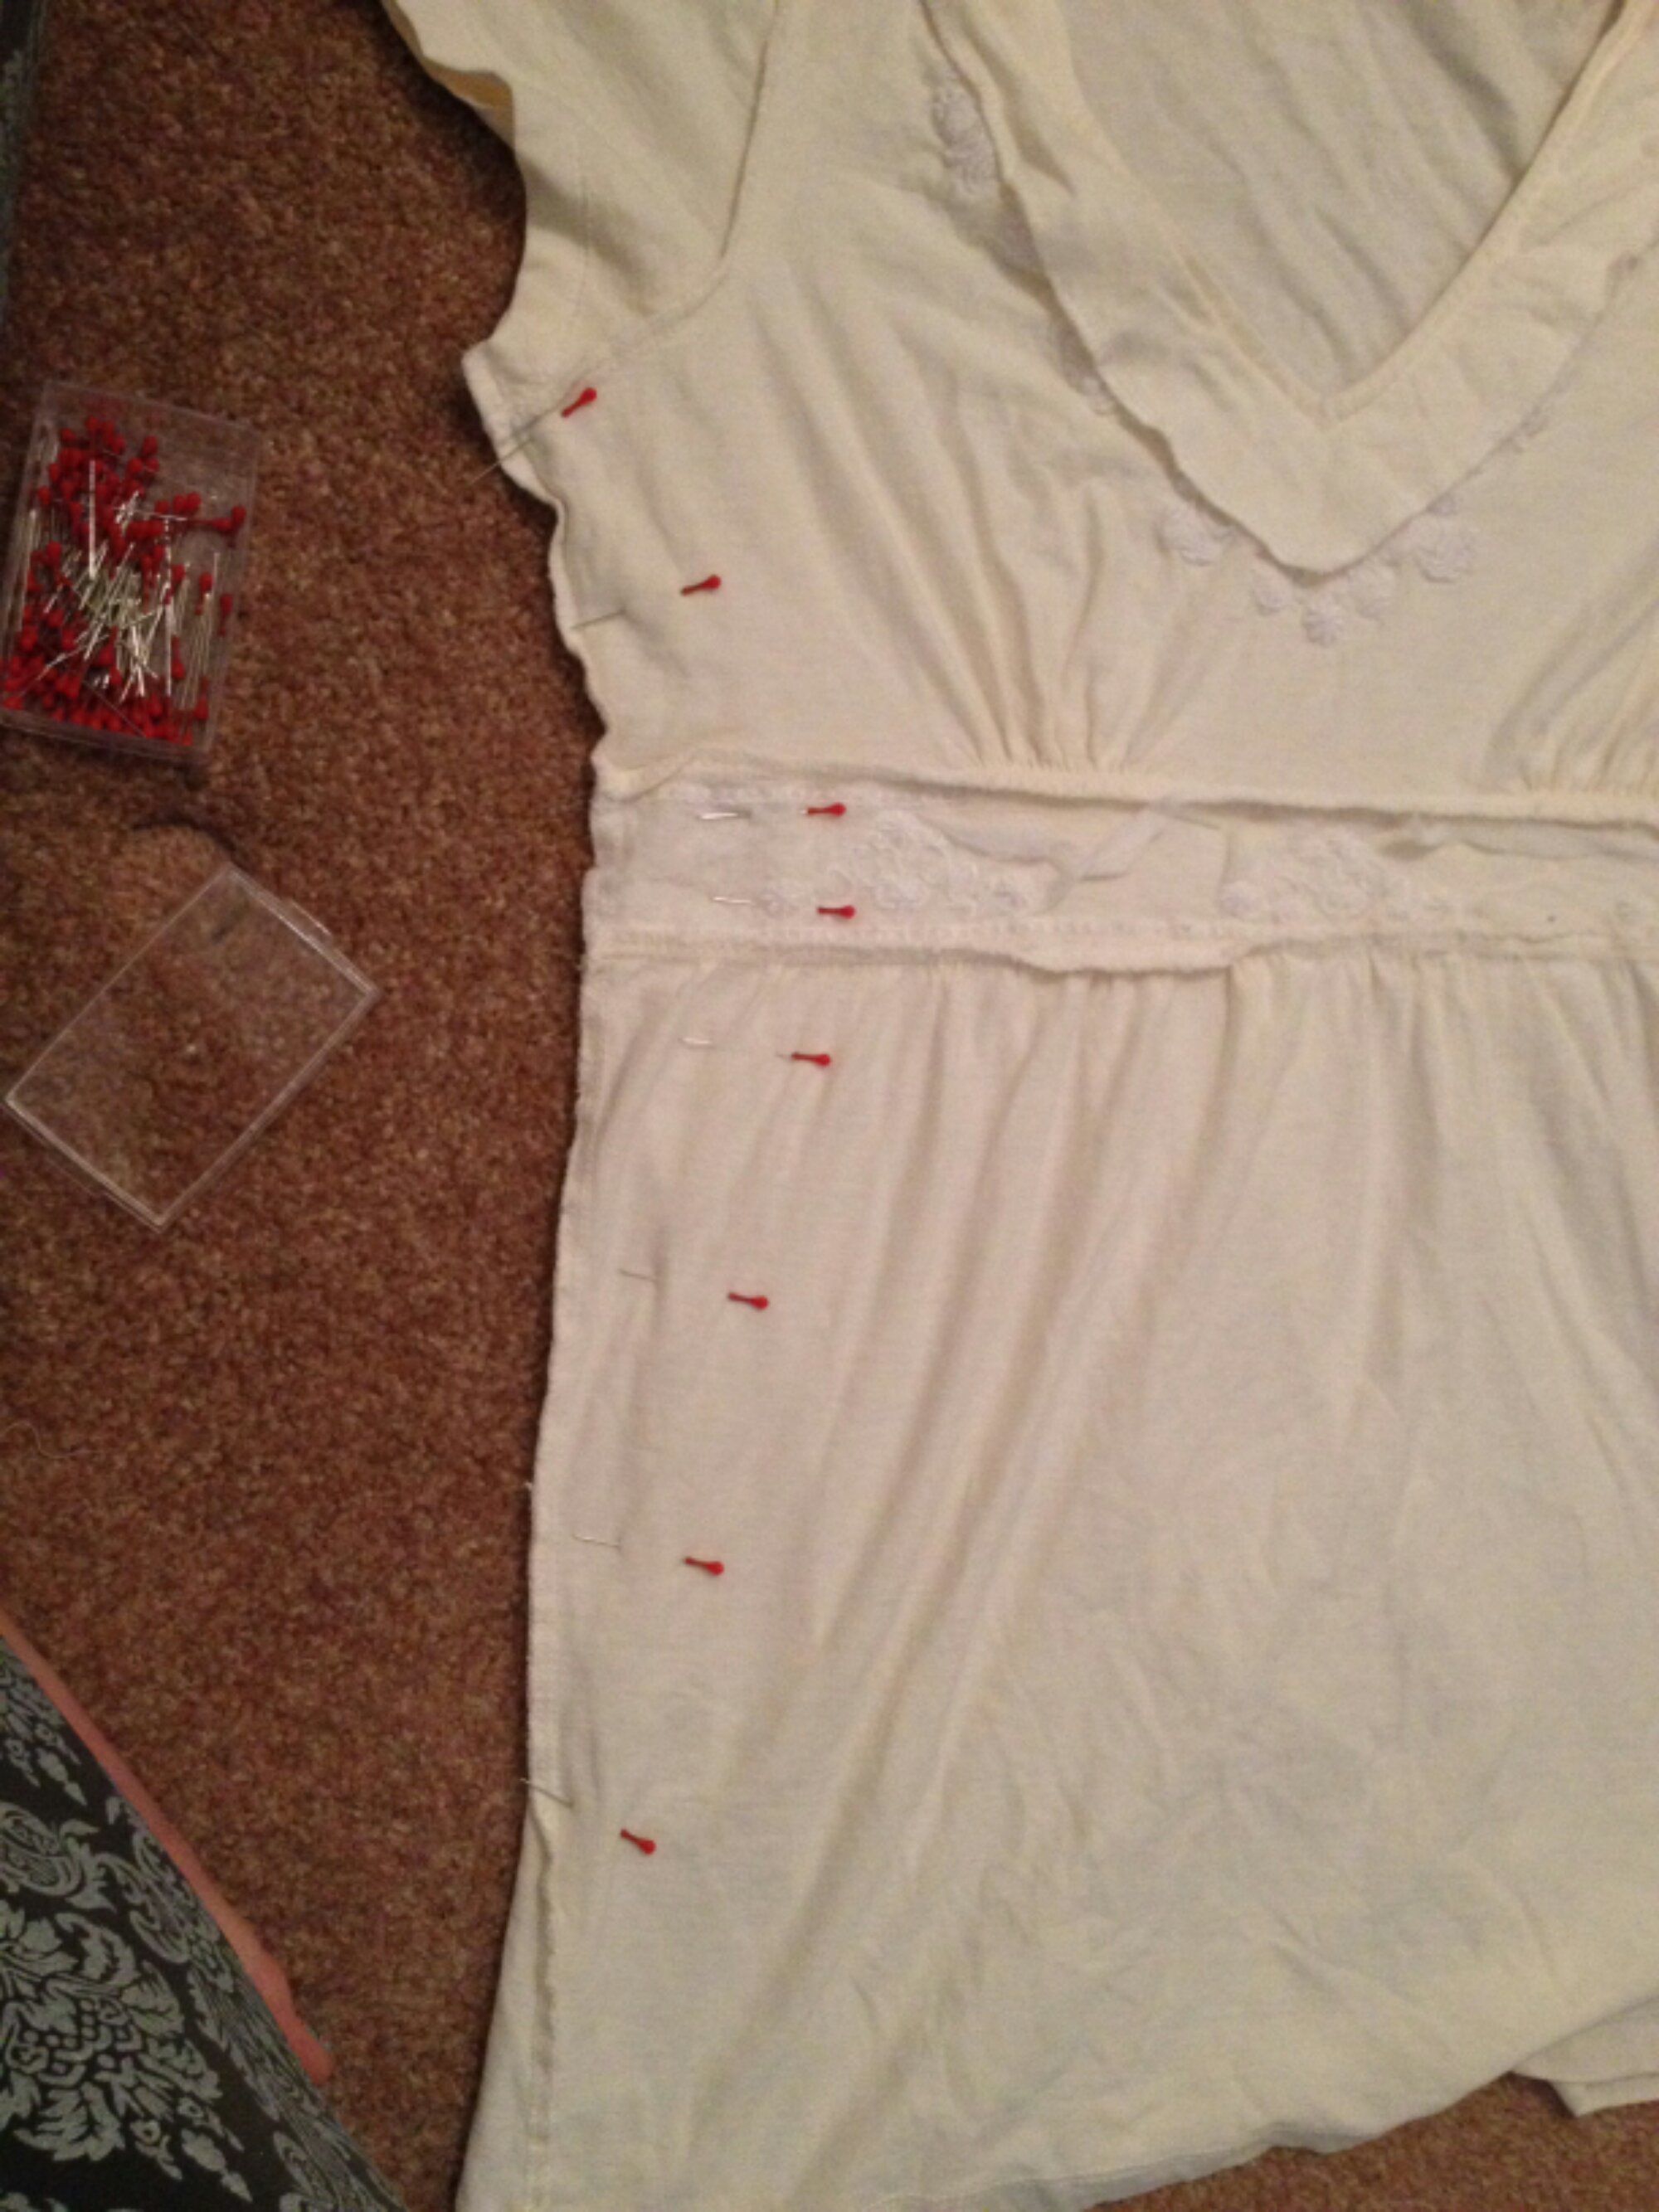
Lay the shirt on the ground inside out and pin the parts you have measured.
image
image
Try to do a natural taper down and up. Also try not to sew the arms too tightly
Step 3.
Sew the side as you have measured them with a straight stitch. Be careful with the material as not to pull or stretch as you sew.
Try the shirt on after you have sewn both sides
Be aware that it will have clumps of material inside because of the access material but do not cut that off yet just in case you want to change anything
Step 4.
Once you have finished sewing. Cut the slack off about a centimeter away from the stitch you made
image
Step 5.
To make sure your raw edges won't fray (if you don't have a serger like myself) sew them with a zig zag stitch. The stretchier the material the wider the zig zag.
image
Try to make it overlap the raw edge slightly
image
Then try it on one more time to make sure its all good and boom there's your new shirt!!
image
image
Again sorry for the wrinkles. Thanks for the support loves!
Advice: try to wash and dry anything you are about sew. Even if its used. helps with knowing what the end result will be. be prepared to try the shirt on many times during the process (or if you are doing it for someone else try not to cut anything until they have tried on your modifications)